Tampilkan postingan dengan label review. Tampilkan semua postingan

Review 30243 Umbaran MHC Polybag

Senin, 17 Maret 2014

0 komentar
This is it, the one youve been waiting for.  Carpemortis has already done a review on the Hangar.  Ever since the community found out about this set weve been talking about it.  Before we even get to the questions you can see that its essentially an Ijad frame in a bag.  $4 gets you a frame, $20 gets you a squad.  Darksyntax has also started a topic to show off different builds using this set.  As you can see -- if you click through -- a lot can be done with this set.


The bag and instruction booklet.


The parts.  Twelve 1x2 Modified Plate w/Horizontal Clip, six 1x2 Modified Plate w/Bar (closed ends), and much more.


The Questions:
Can you build a frame, or frames, right away?  Yes.  (+5)
Is it below, at, or above the golden ratio?  Below.  (+5)
If you cant build a frame right away, does it have parts you should be able to put into use right away?  Id say yes.  (+5)
Does it have more than a handful of immediately useful parts?  Yes. (+5)
Score: 20 (A+). Our first Lego set with a top rating.  Run out and grab this one before it disappears.
Read More..

HS25 Review – Part 16 – Late night walk in the neighborhood …

Rabu, 05 Maret 2014

0 komentar

So it’s fairly late in the evening and the sun has just set or is just about to. You decide on a nice walk for half an hour and you grab your HS25 for the wander. It’s the time of year when many flowers are at or near their peak, so it is a good time to see what the neighbors have been up to.

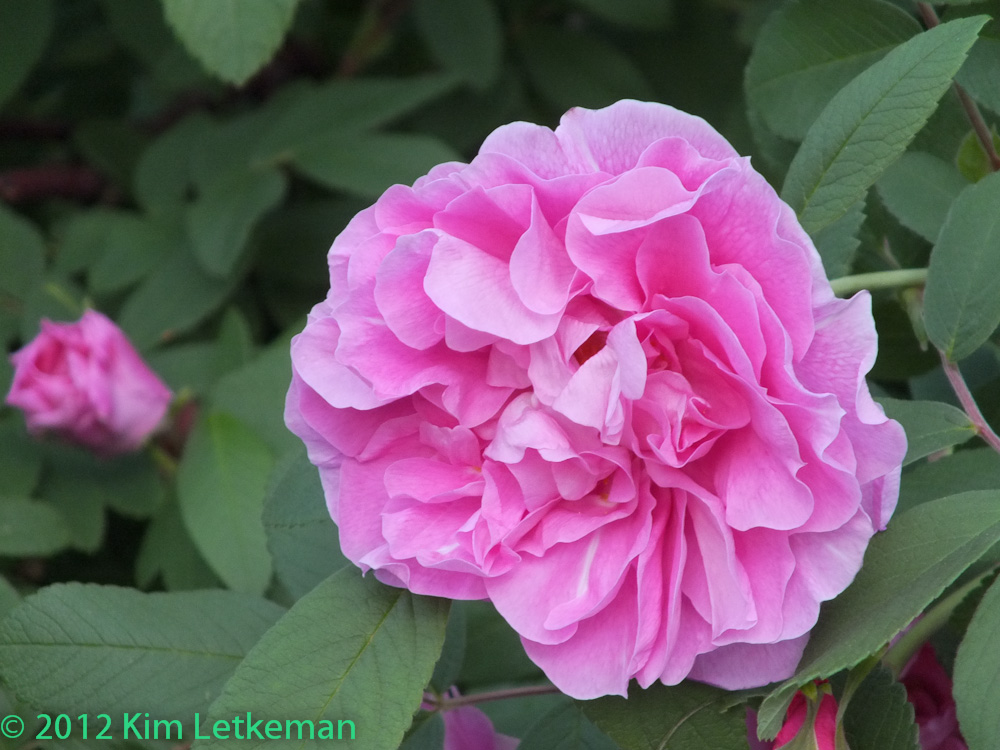
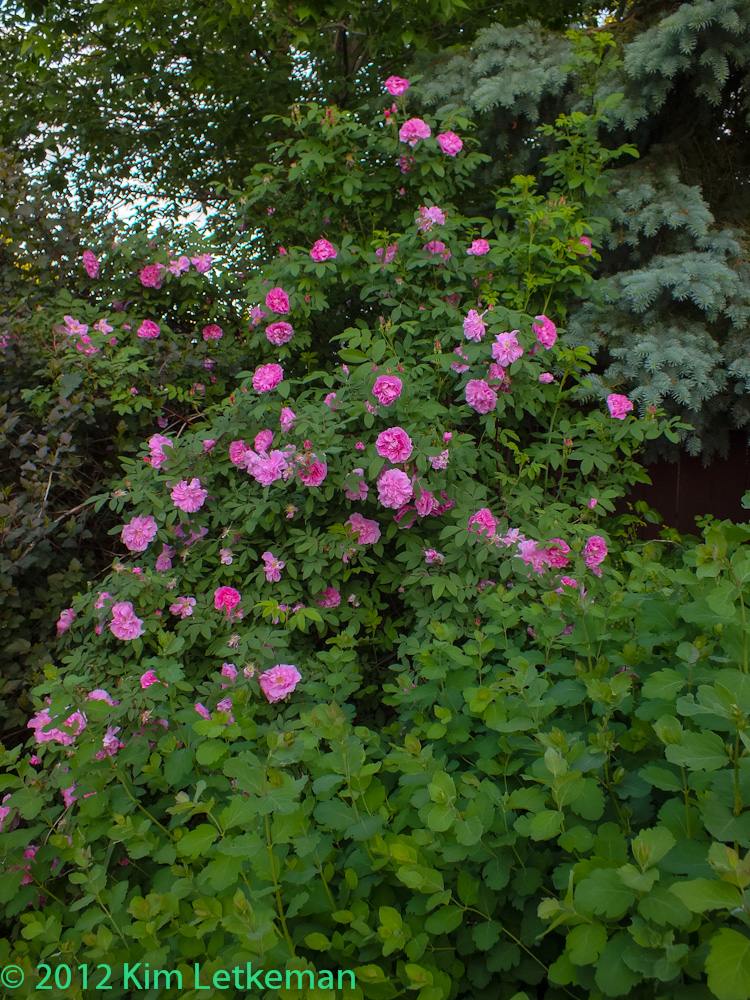
Before I left on the walk, I started in my own back yard. The Hansa Rose bush is now covered in blooms. Looks terrific. Here’s a reasonably nice one, straight from the camera except for resizing.

Note: the majority of these images are straight from the camera, except wher I note that the image is processed. All are shot in EXR DR mode. I shot the first third of the image at auto ISO 400, but as the light waned I was forced to shoot auto ISO 1600. Meter was set to averaging the entire time.


fuji hs25  400iso  f/5  1/80

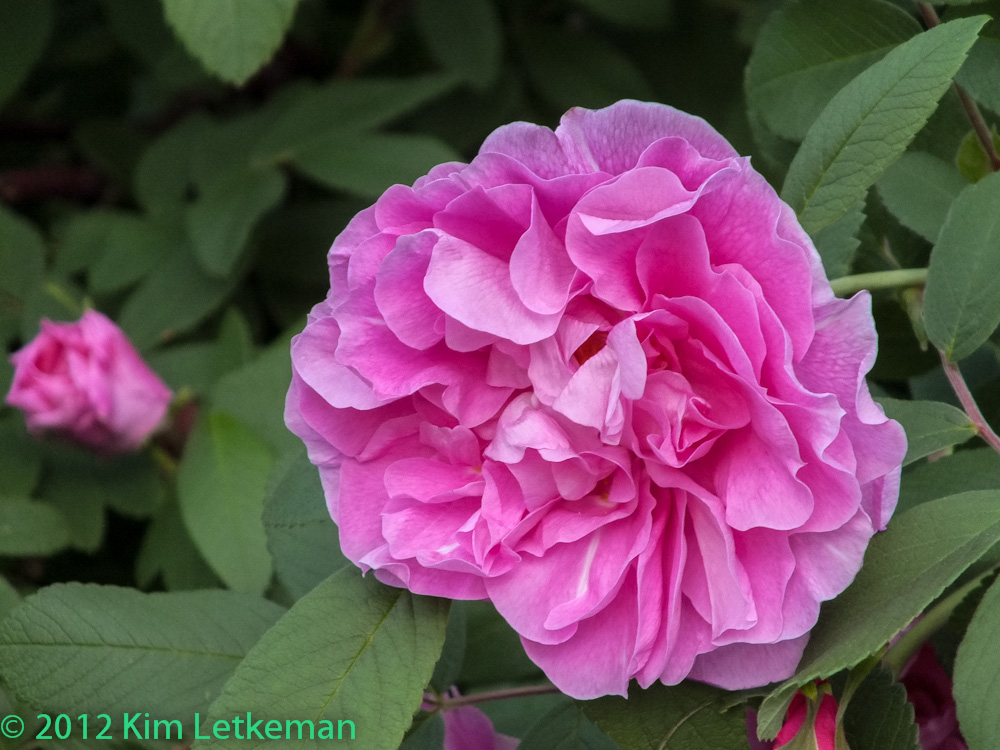
Here is the same image as I usually prefer to render it.

Yes, the difference is subtle. But subtle differences matter.

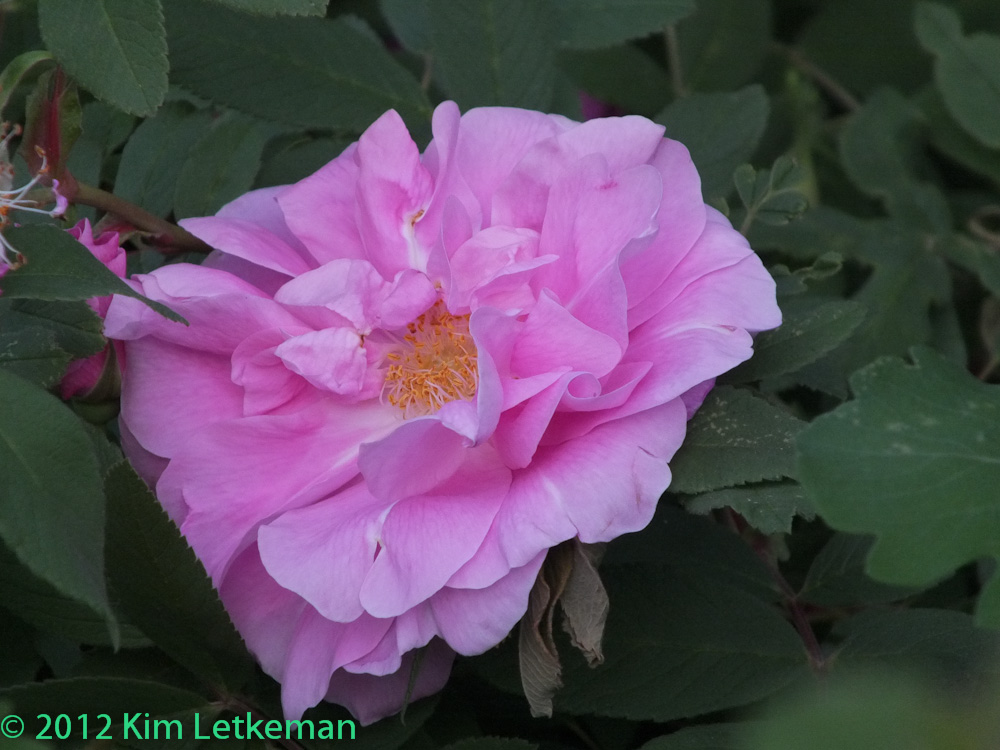
Another bloom with the stamens showing.


fuji hs25  400iso  f/5  1/150  -2/3ev

Although it is not a sunny or contrasty light, I prefer to drop exposure a bit to protect pinks and reds, which are really hard to capture without blowing them out.

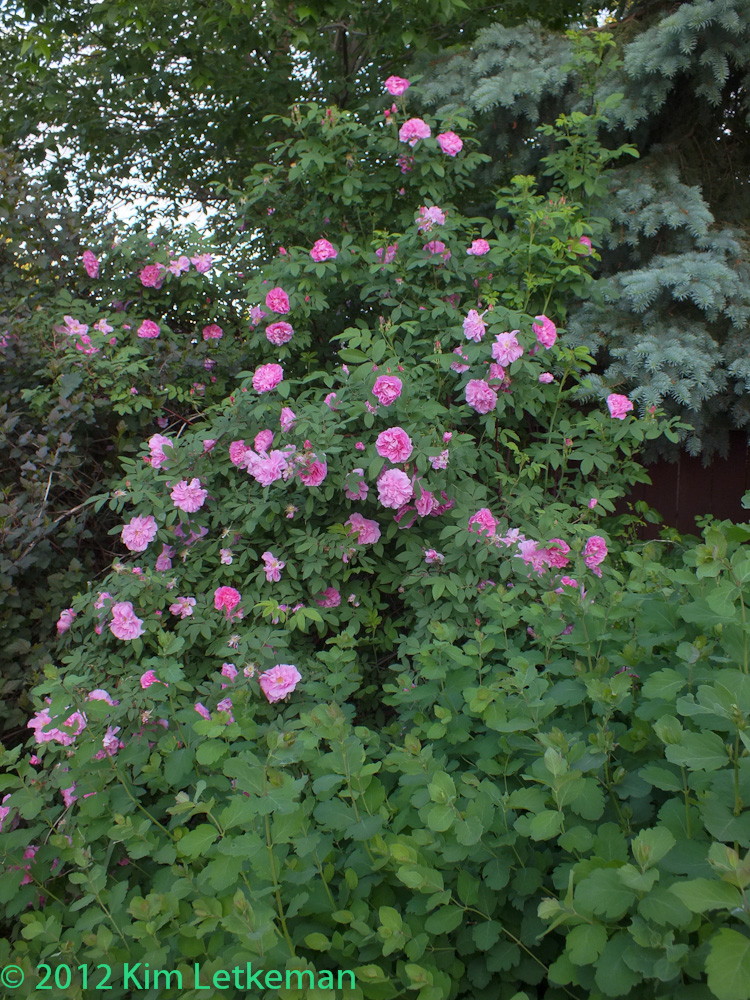
The whole bush as Fuji would render it and then as I would render it. No EXIF, it is embedded if you want to see it.

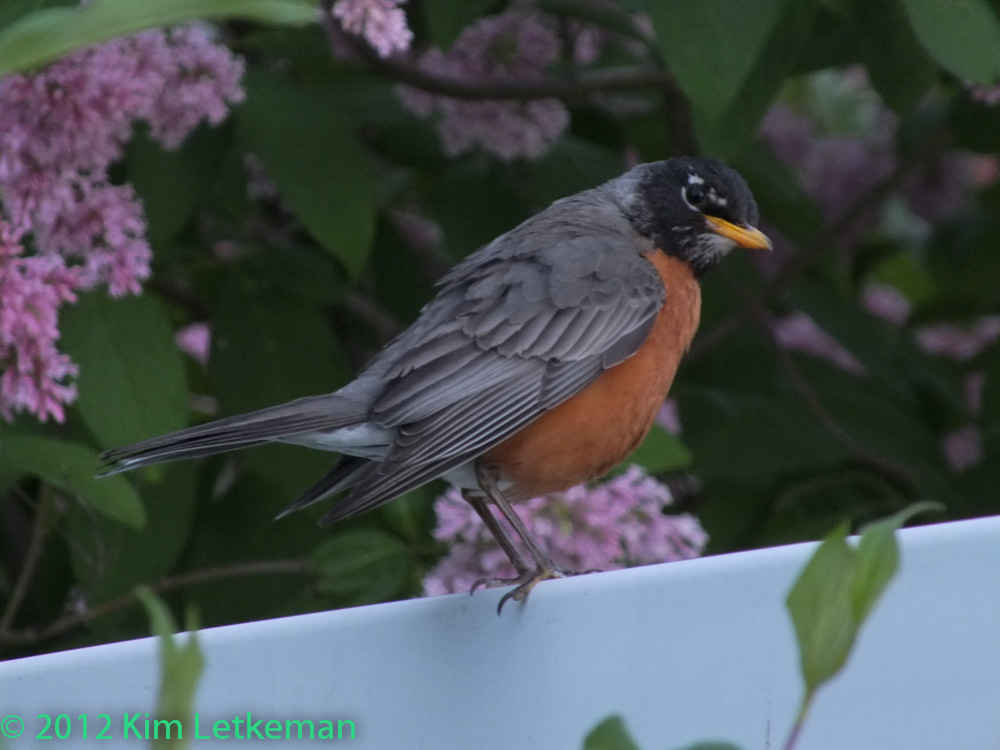
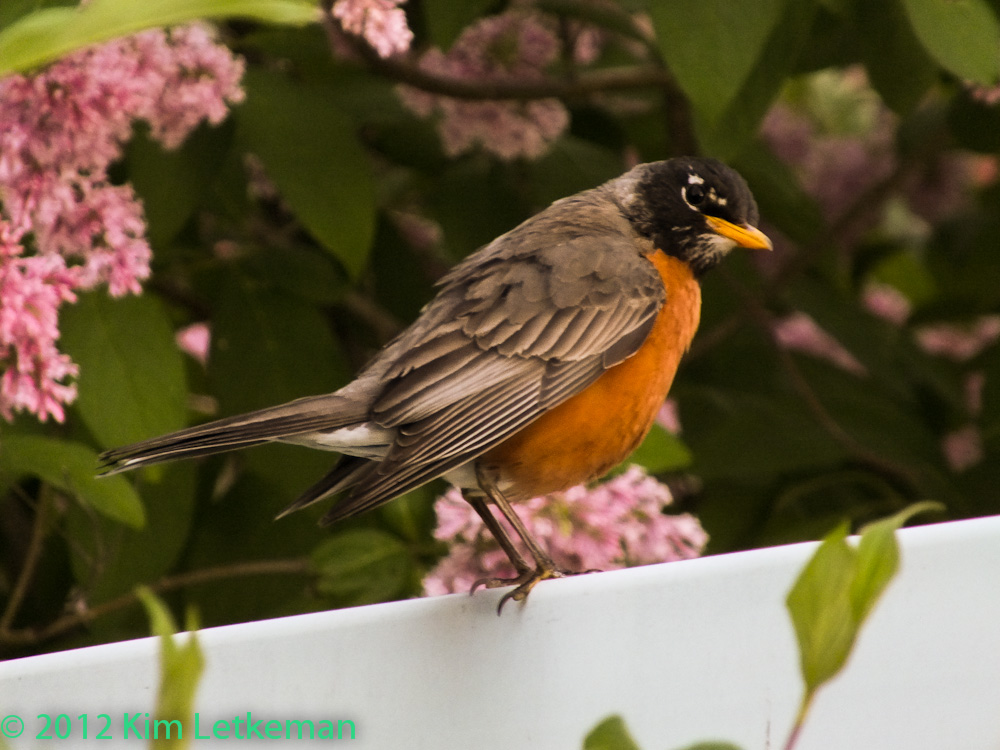
A robin lands right in front of me on the fence, and then walks towards me. I actually have to zoom out to get the whole thing in. Ho cocks his head at me as the camera is beeping (I am furiously trying to turn off macro mode.)

Again, Fuji’s and then mine. I correct white balance by clicking the dropper on the fence.

For those who don’t like to process, perhaps working with custom white balance will suffice. But I would seriously consider getting Lightroom 4, which is half the price that Lightroom 3 used to be.

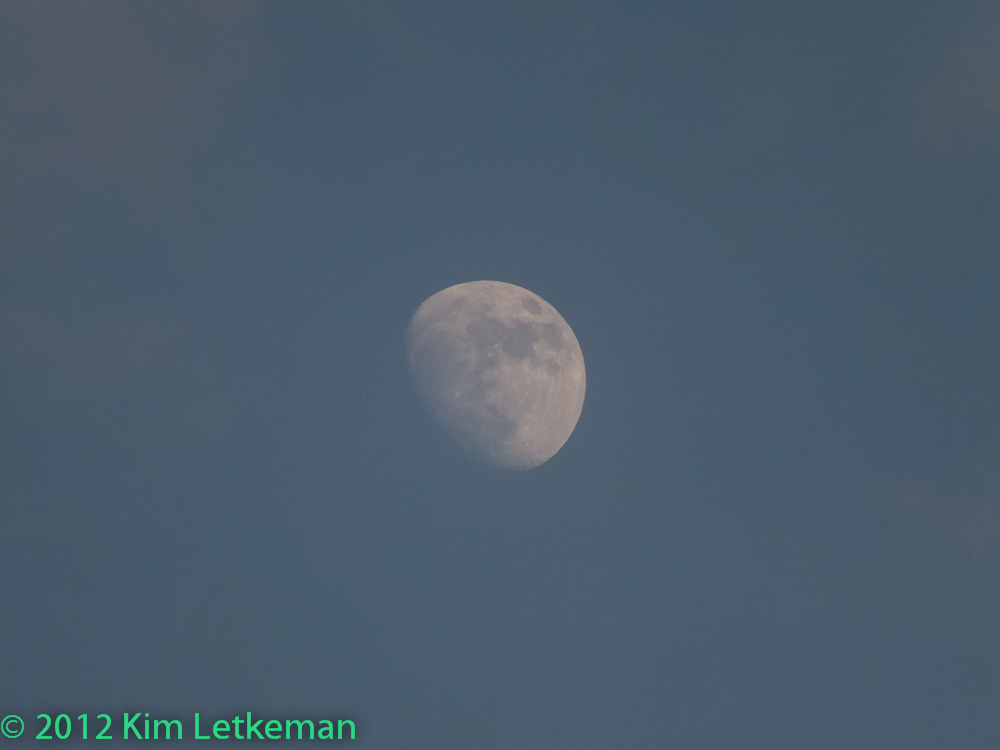
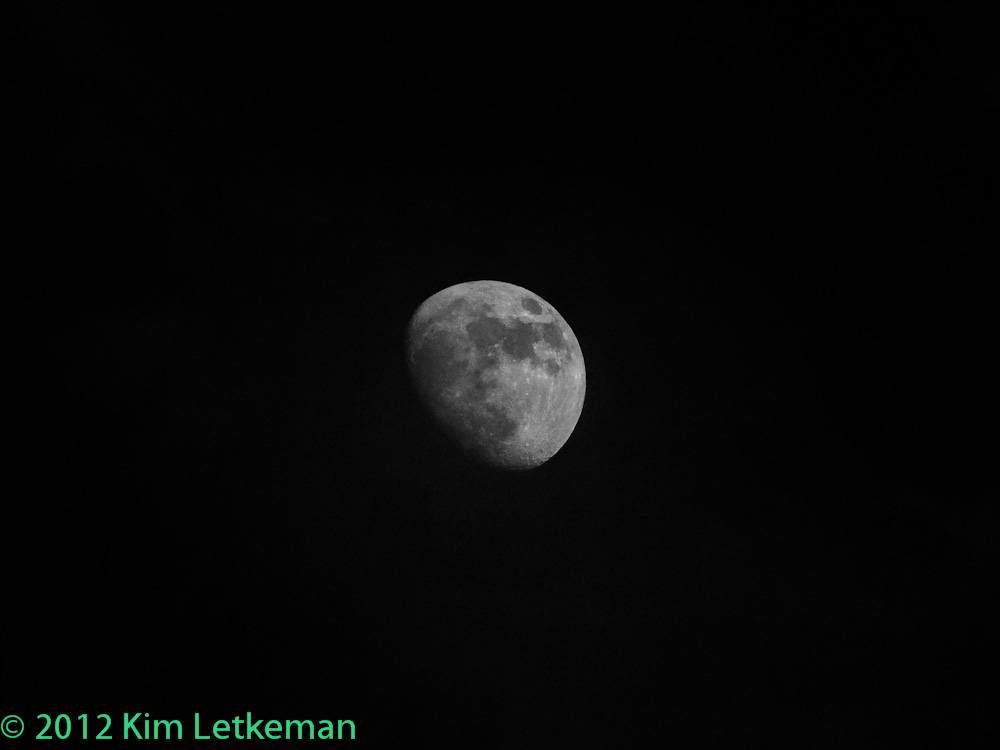
As I was about to leave the yard, I noted that the moon was up and looked really nice in the late evening blue sky.

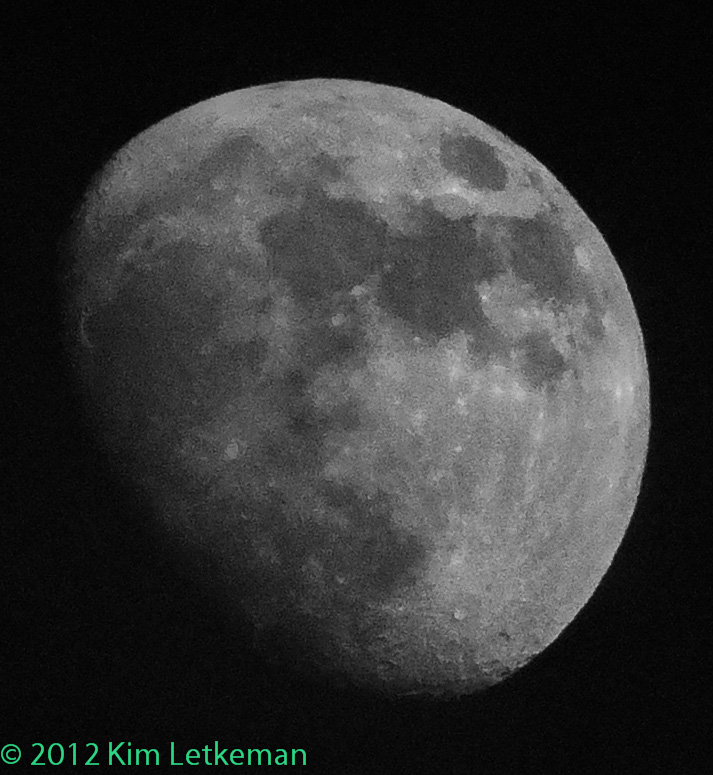
That’s hand held of course. I tried exacting more detail and the sky turned to sandpaper, so I went with black and white and much prefer this rendering, even though it is nothing like the original scene.

For those wondering how clean the moon came out at around 100%, the answer is not very.

There is quite a bit of coarse detail, but the smearing is brutal. And this is 100ISO! Perhaps there was slight movement because it was hand held. Anyway, I have better output from this cam on the tripod.


So … off I went for a walk. I still had the camera set to auto ISO 400, so I got some blurry shots. Since this is an experience report, you get to see evrything.

This shot is blurred, but the camera did a nice job with the white balance. Still a bit cool, but nice overall. Note that I am shooting for capture quality, which means that these are all low contrast. I also have DR400 set up in EXR DR mode.


Fuji hs25  400iso  f/5.6  1/50  -2/3ev  687mm EFL (too long for the shutter speed)

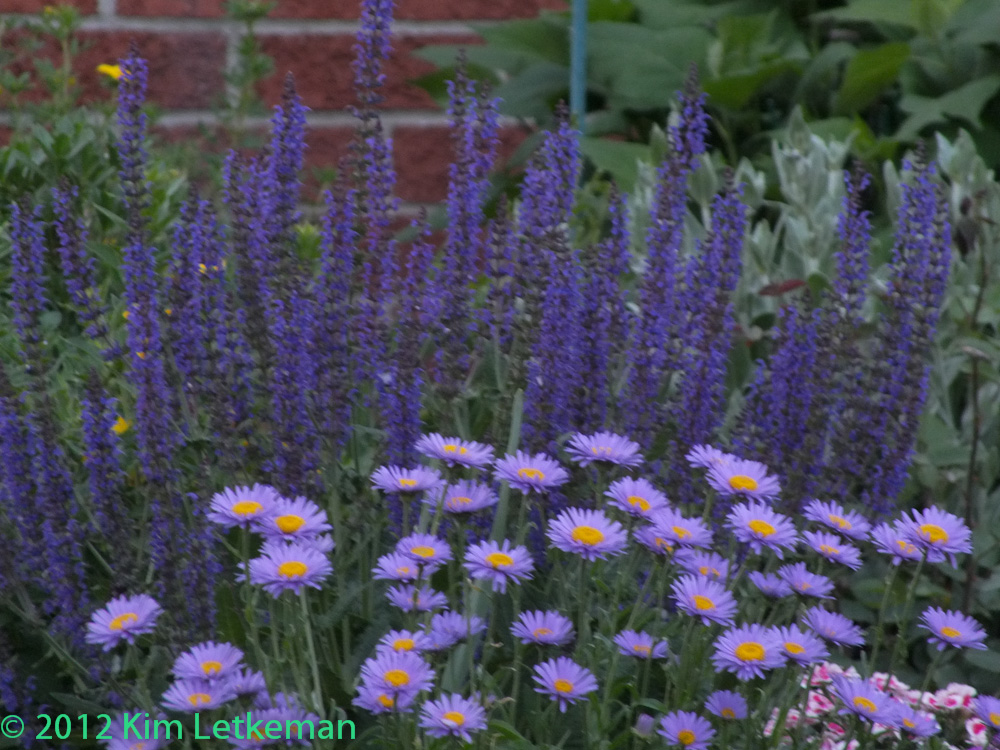
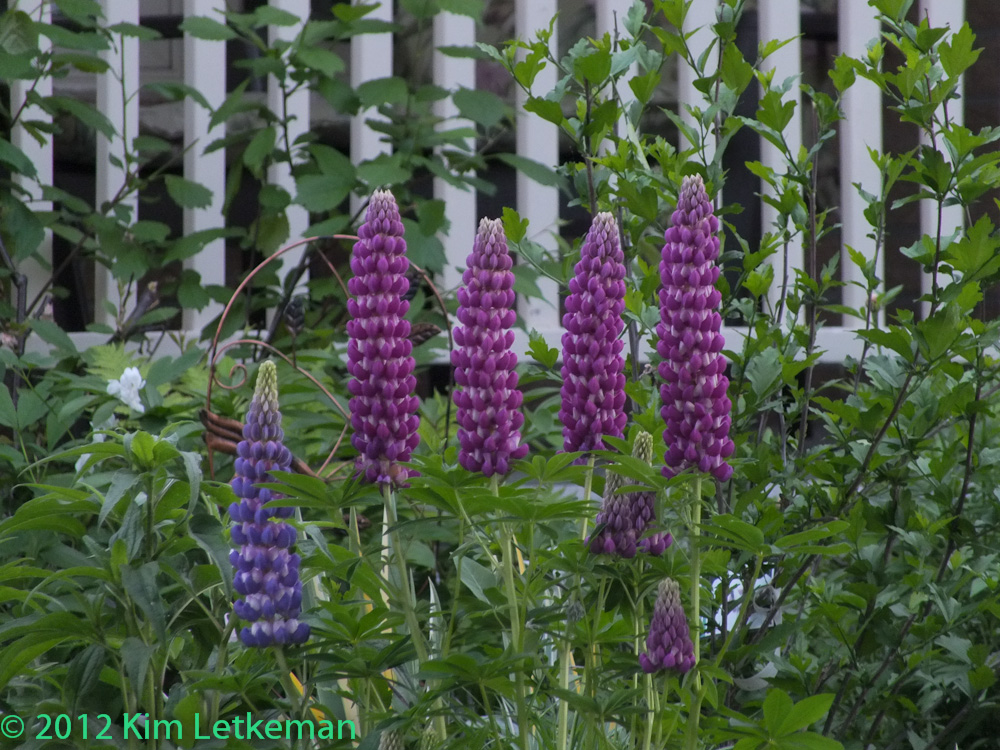
The next shot are Lupins. Gorgeous. And I got lucky on the stabilization.


Fuji hs25  400iso  f/5  1/50  -2/3ev

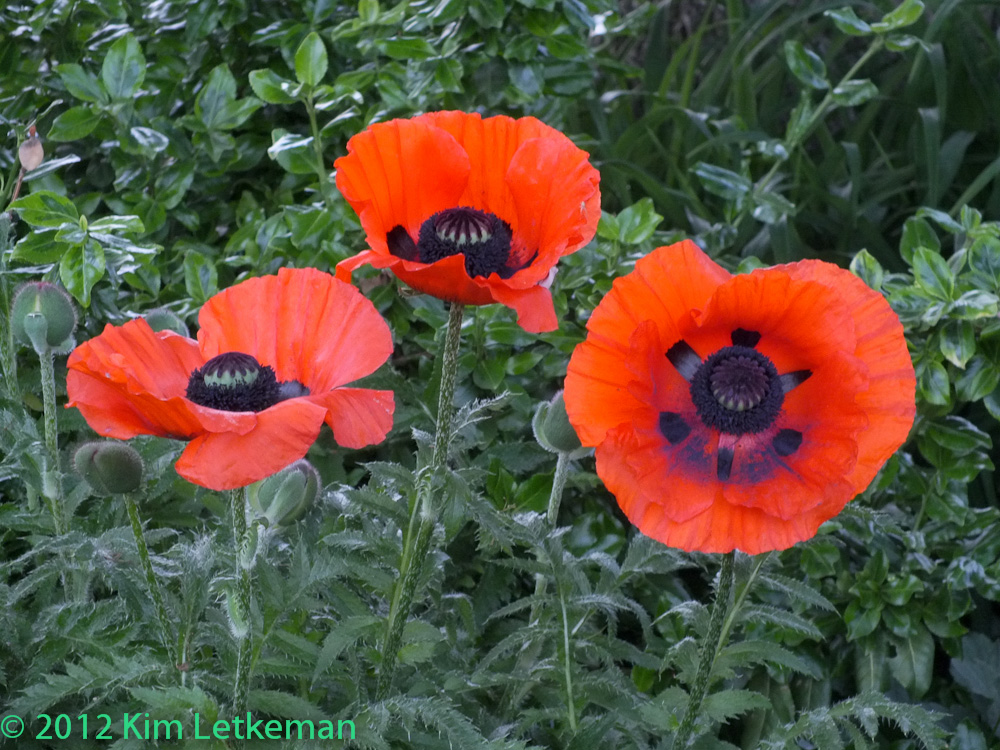
Lucky again with these Poppies.


fuji hs25  400iso  f/5  1/30(!)  -2/3ev

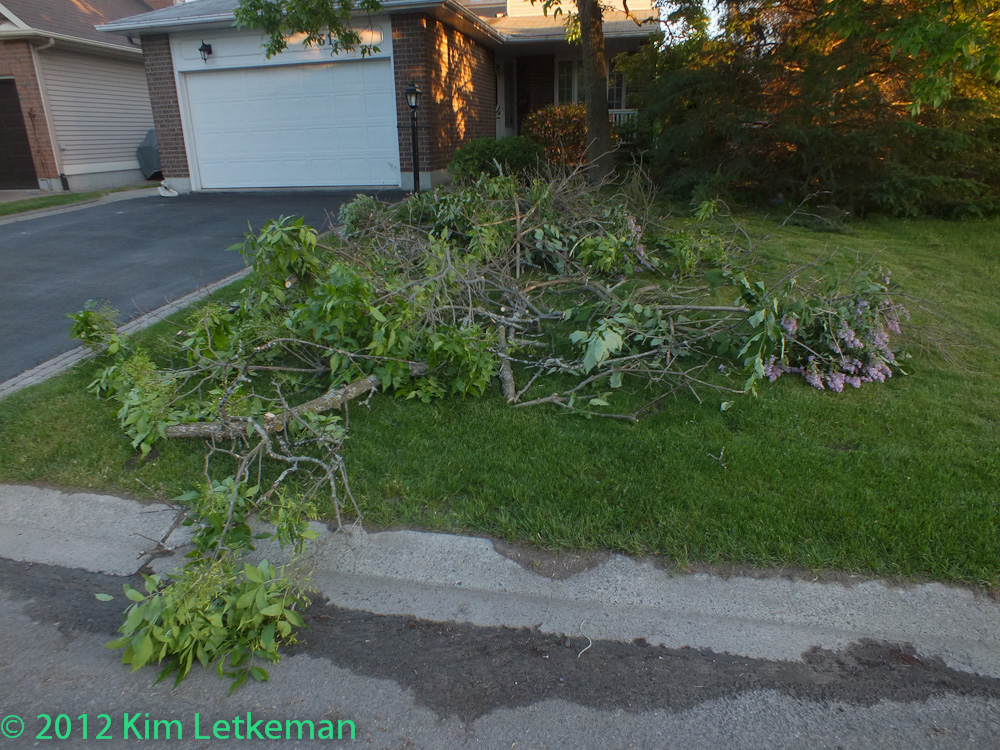
A neighbor decided that the Lilac had to go. Bummer. I like Lilacs.

Note the leaning garage. I pointed the lens down to capture the scene, and that makes anything straight up and down lean outward.

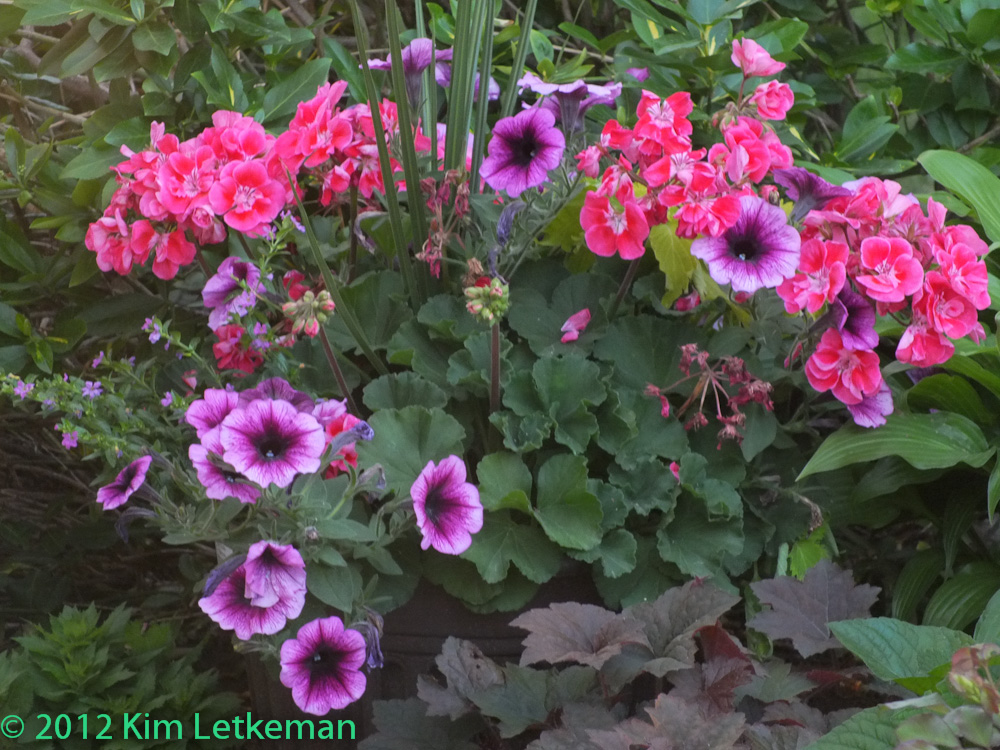
Nice looking fluted flowers. Can’t remember the name, but they remind me of Morning Glories, which bloom much later on.

Generally, the color is coming out pretty well from the Fuji. Sometimes the cool white balance is too obvious, but other times it looks fine to me. YMMV of course.

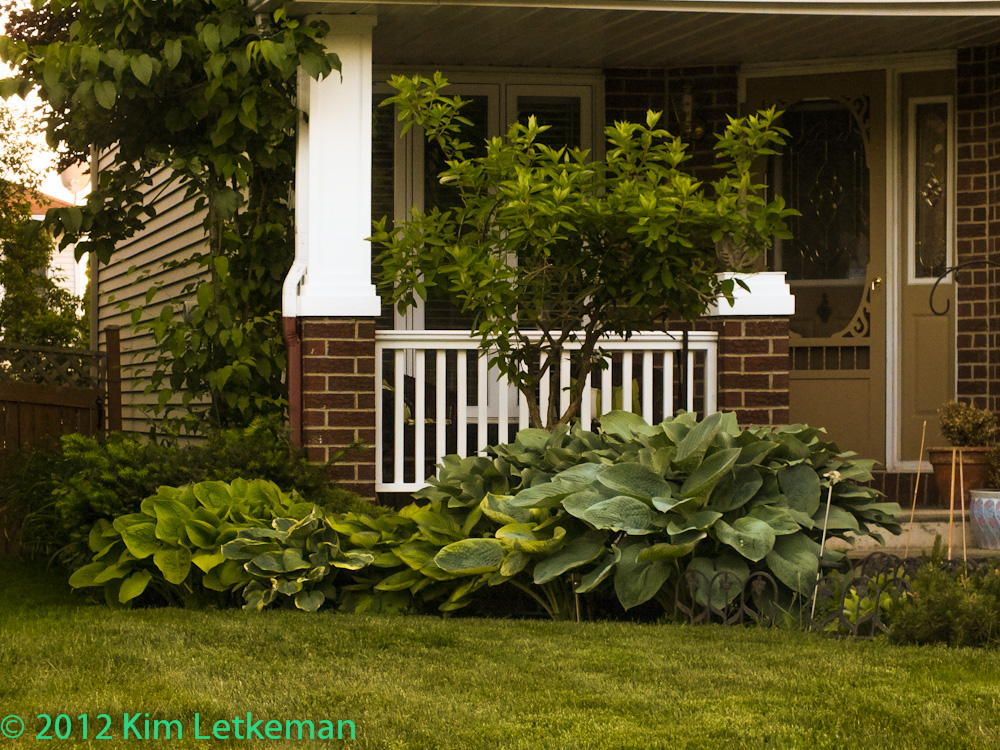
This neighbor has an incredible set of Hostas out front. I processed this one for sure.

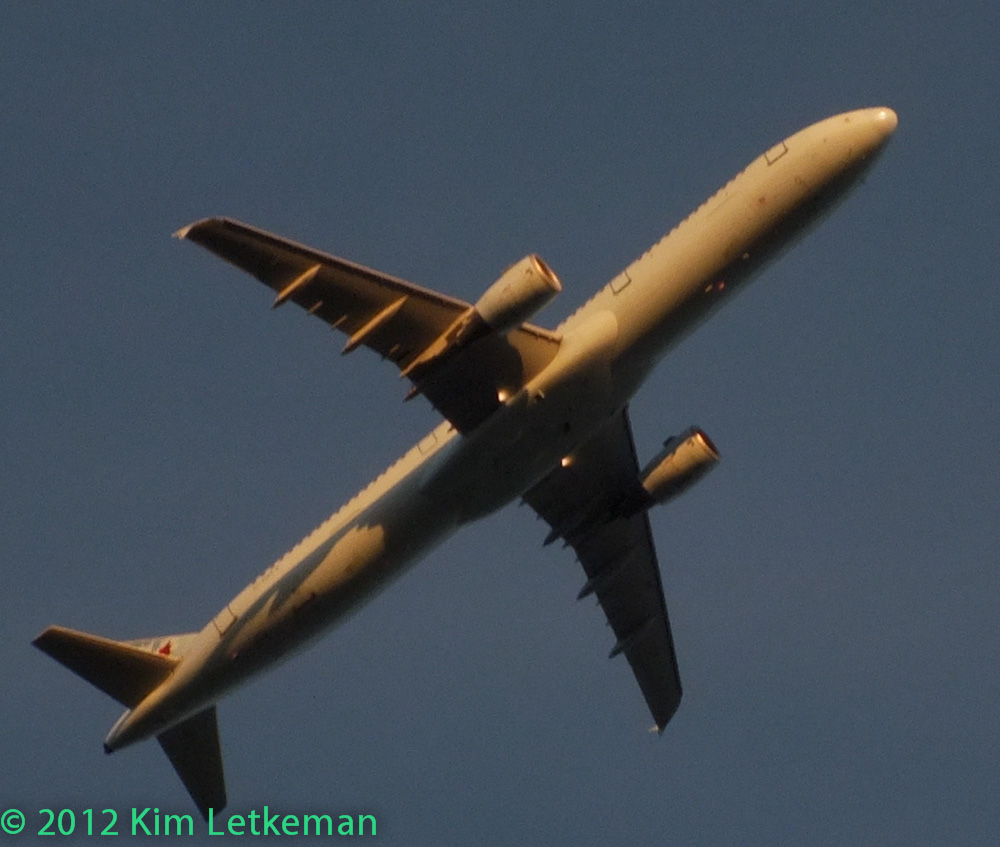
There must have been 6 or 8 take-offs during my walk. Here’s one just climbing over head … heavy crop shows the grain.

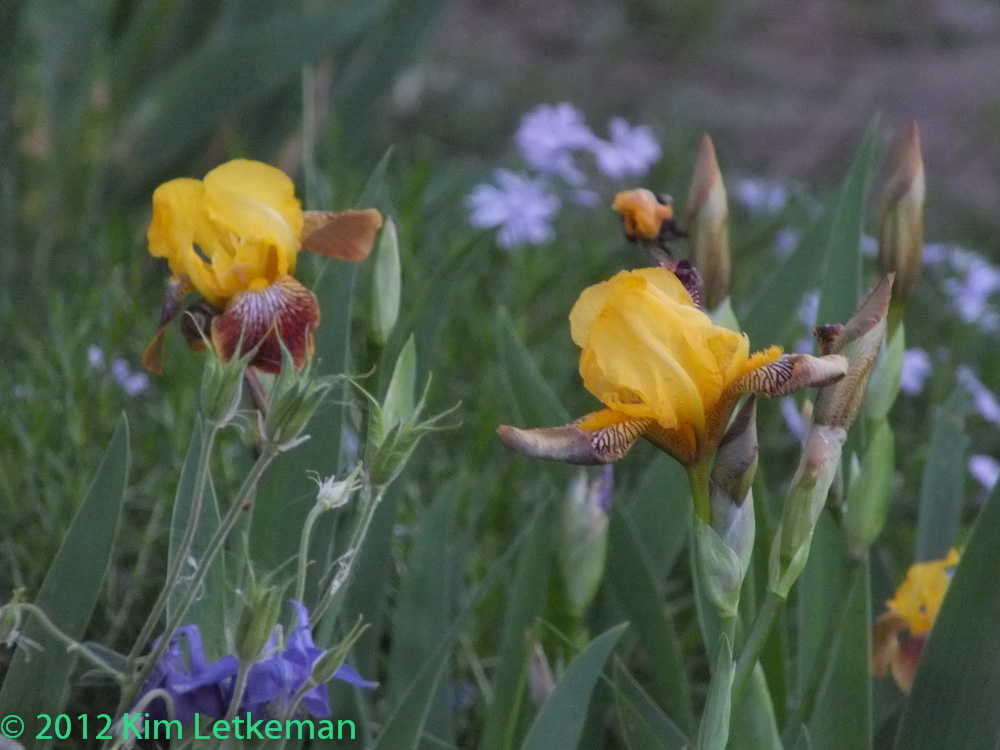
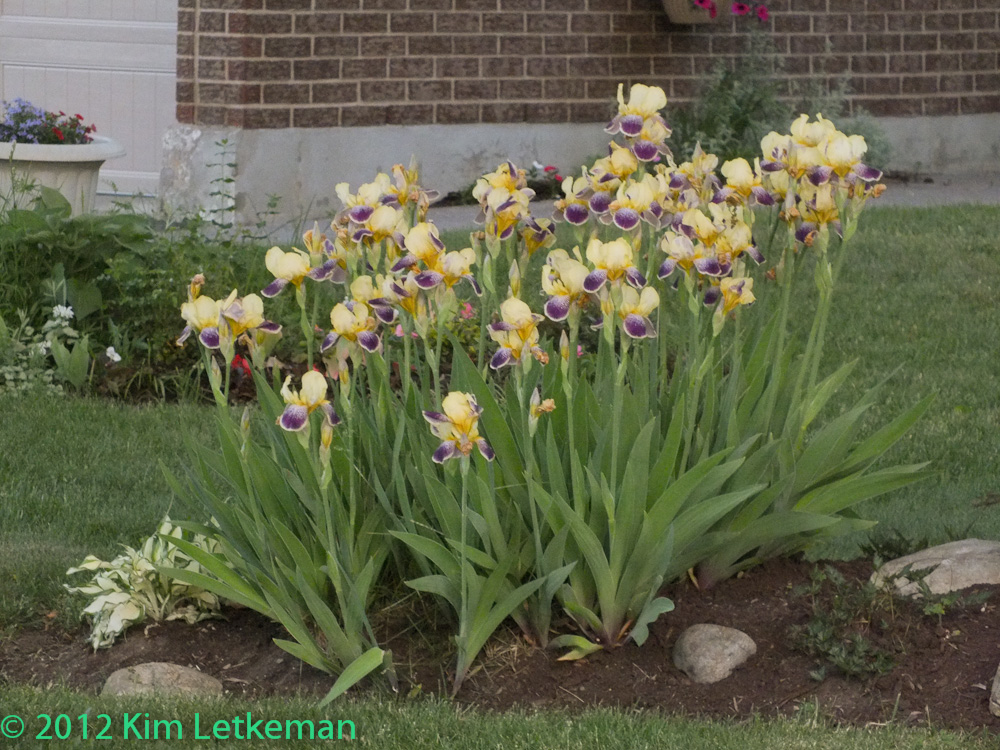
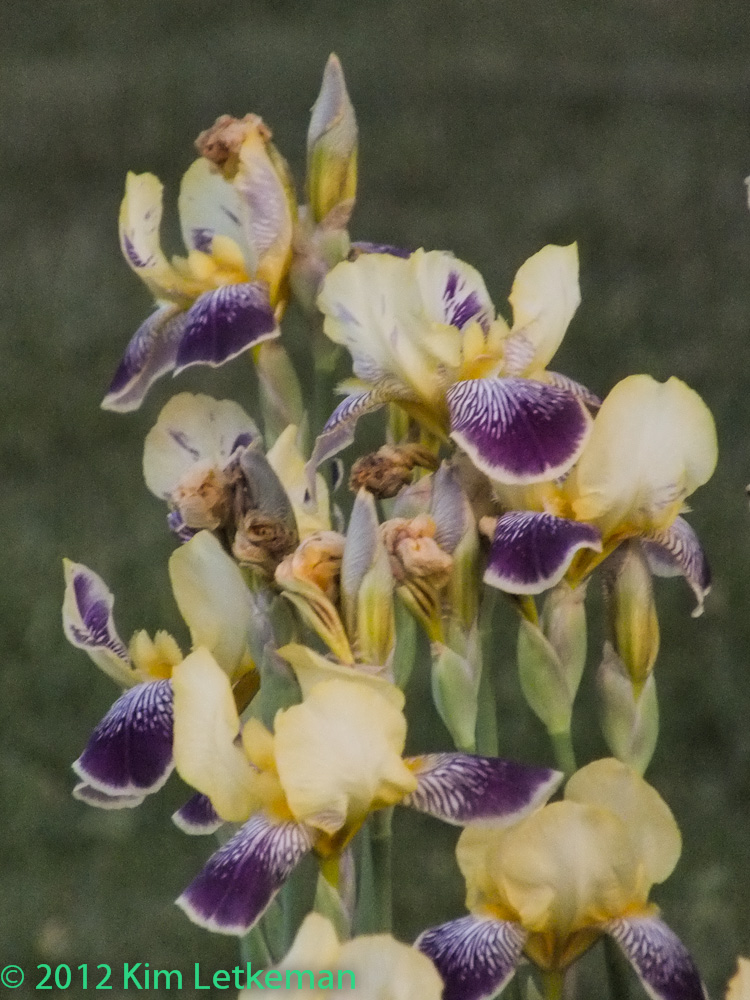
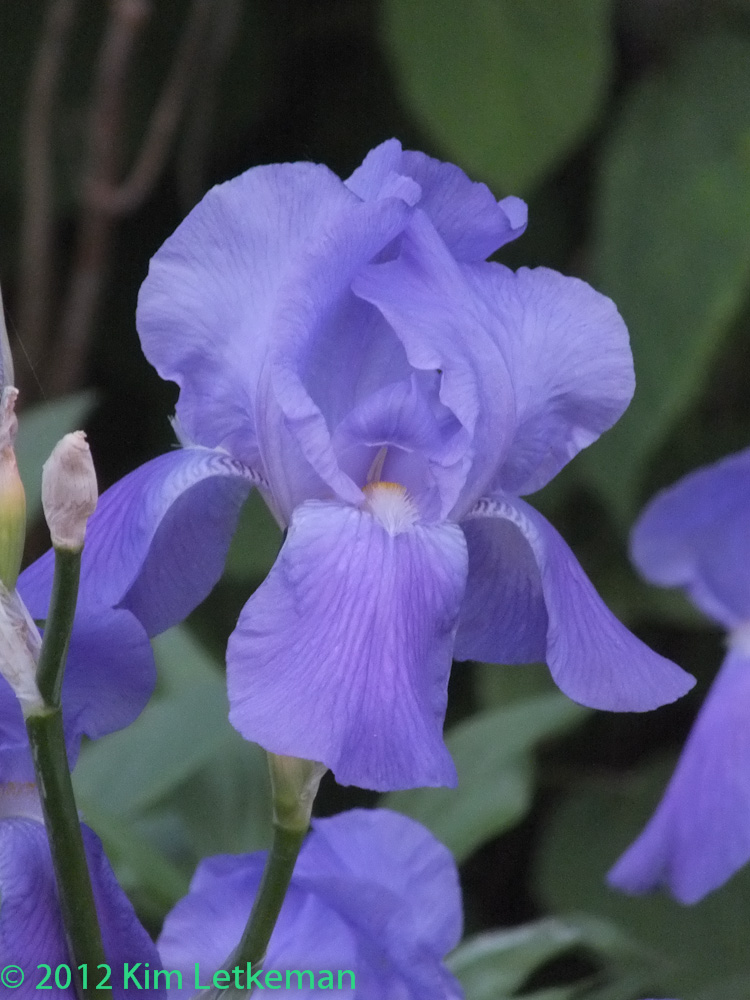
Got another sharp one. Some Iris at full zoom. No idea how I got it sharp at 1/60 …

A bit more muted than I like, which is the fault of the white balance I think.

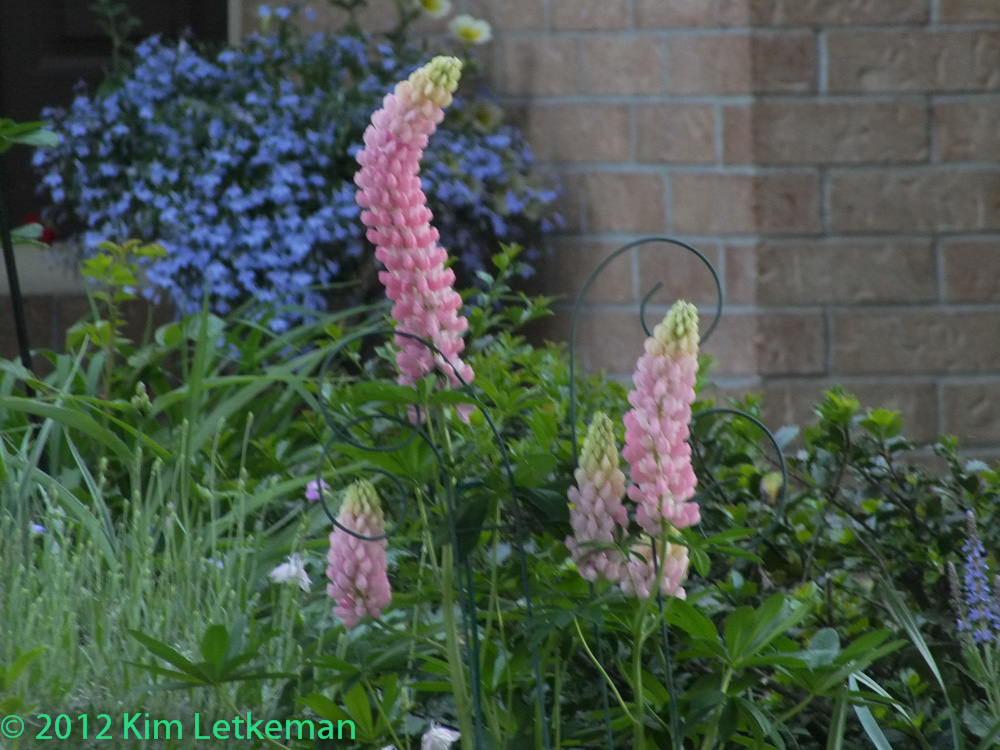
Next door we see more Lupins. Almost fully bloomed. Great background provided by their porch.

I don’t recommend shooting 400ISO in the dark, but I did get quite a few keepers. But it gets harder as time goes on, as the sun is definitely gone by now.

Right next to the gorgeous Lupins we see the bent ones and I got blur again. Can’t complain at these shutter speeds (1/25 in this case.

)

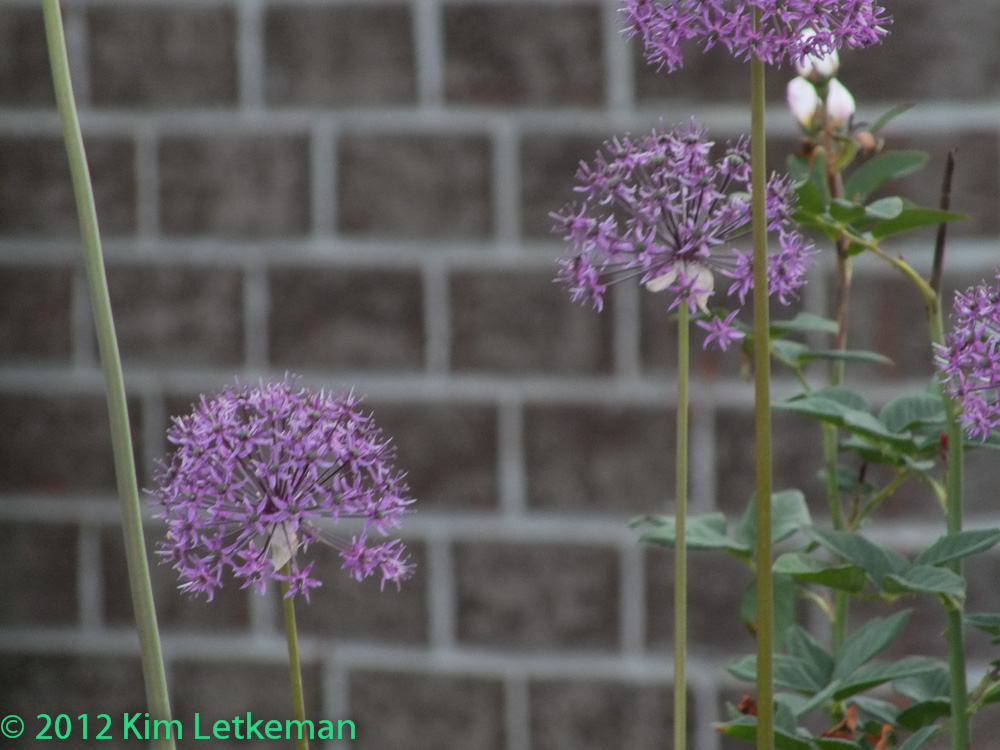
The Alliums (yes, of the onion family) next to them came out all right, but there is still a bit of blur if you look for it.

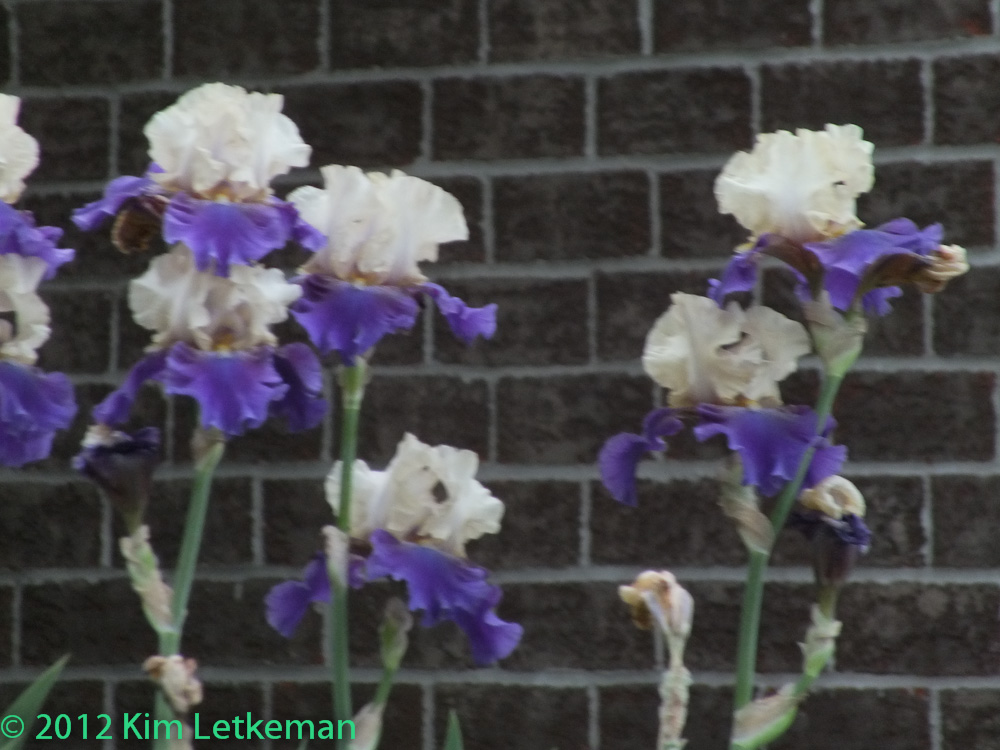
Another shot of Irises, and another ruined shot. 1/25s is too slow and I still have not quite figured out what is happening. Duh …

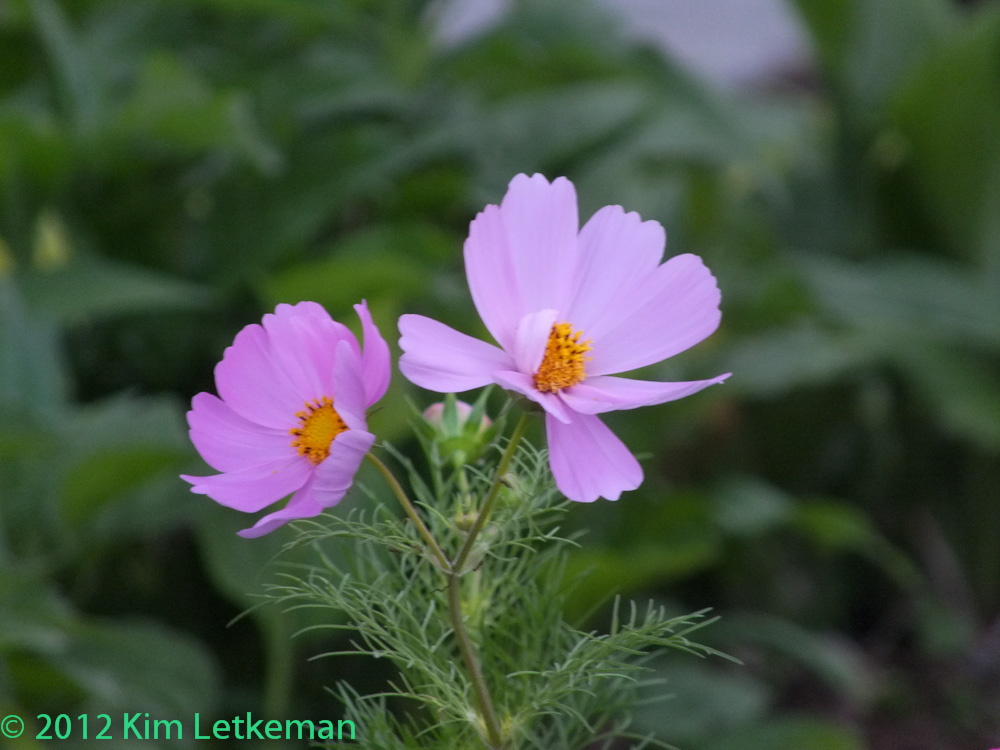
These Cosmos are almost sharp, but alas, not quite. The bull’s eye composition would normally have been fixed with a crop, but I am posting what I shot. In this low light, I am finding it a chore to compose images at full zoom. This is something I have noticed about the HS25 … not really a tough light camera. Everything seems a bit more difficult.

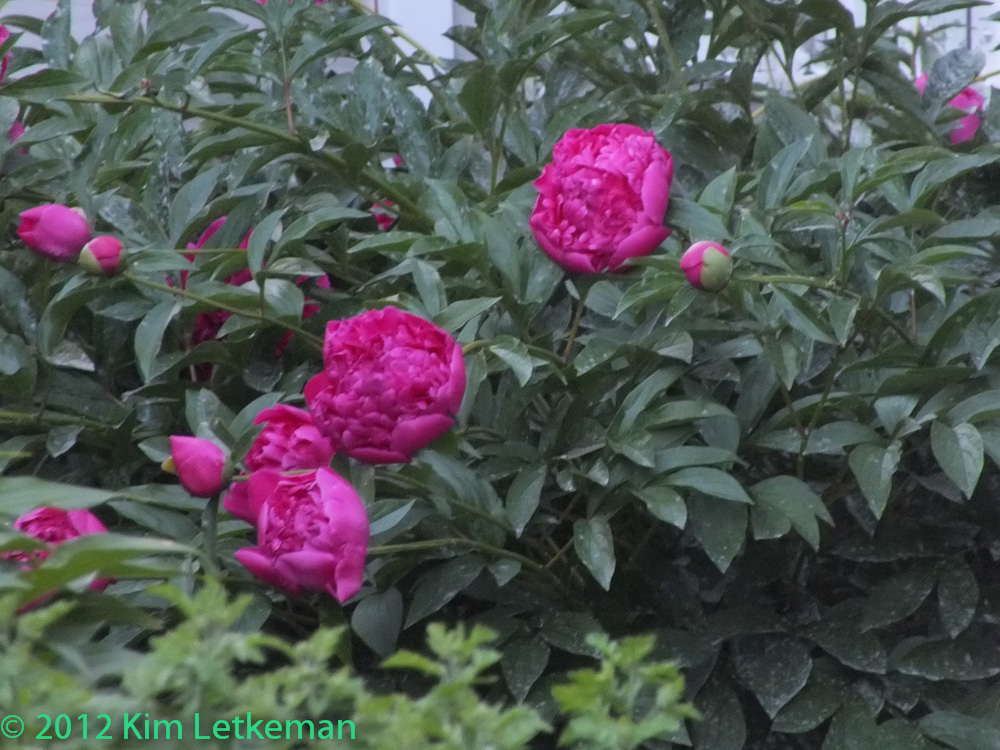
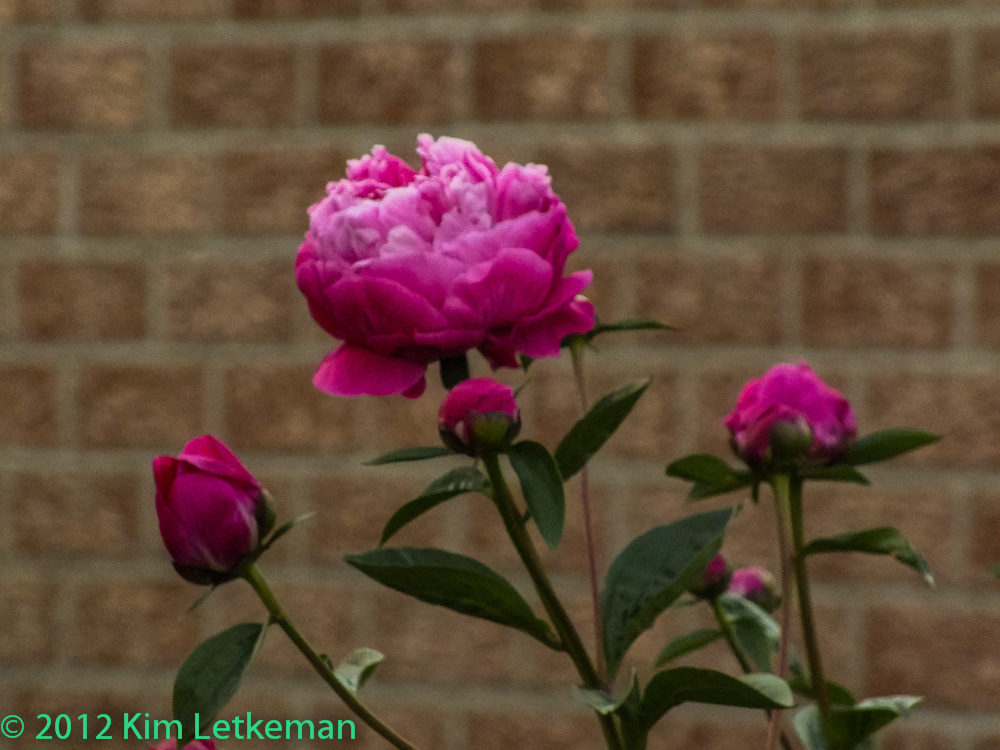
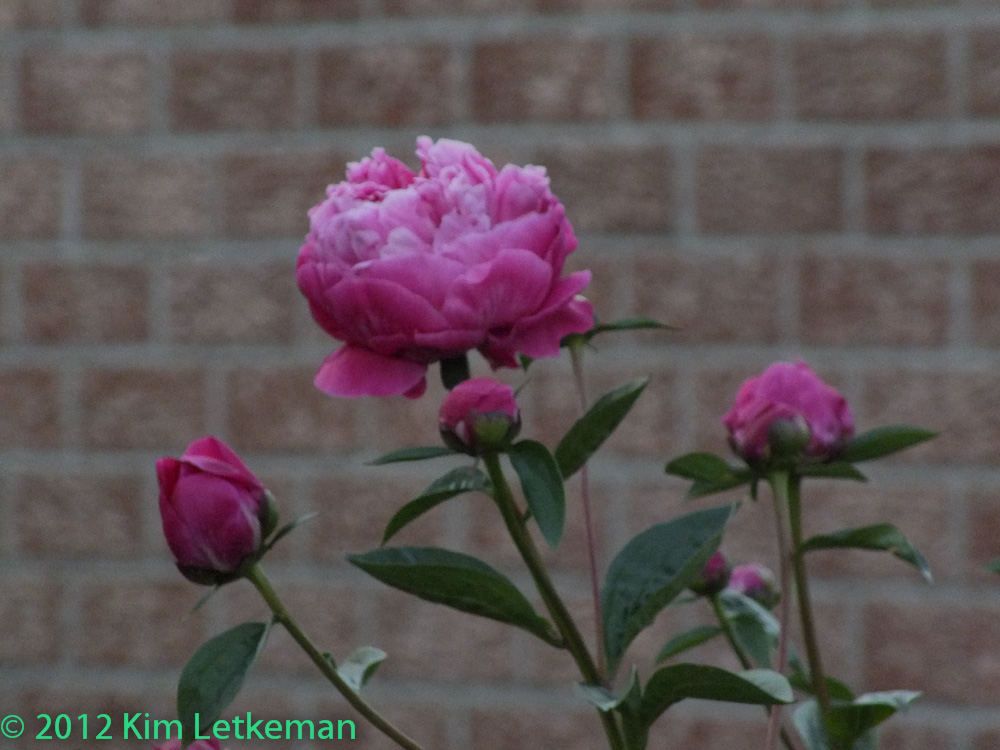
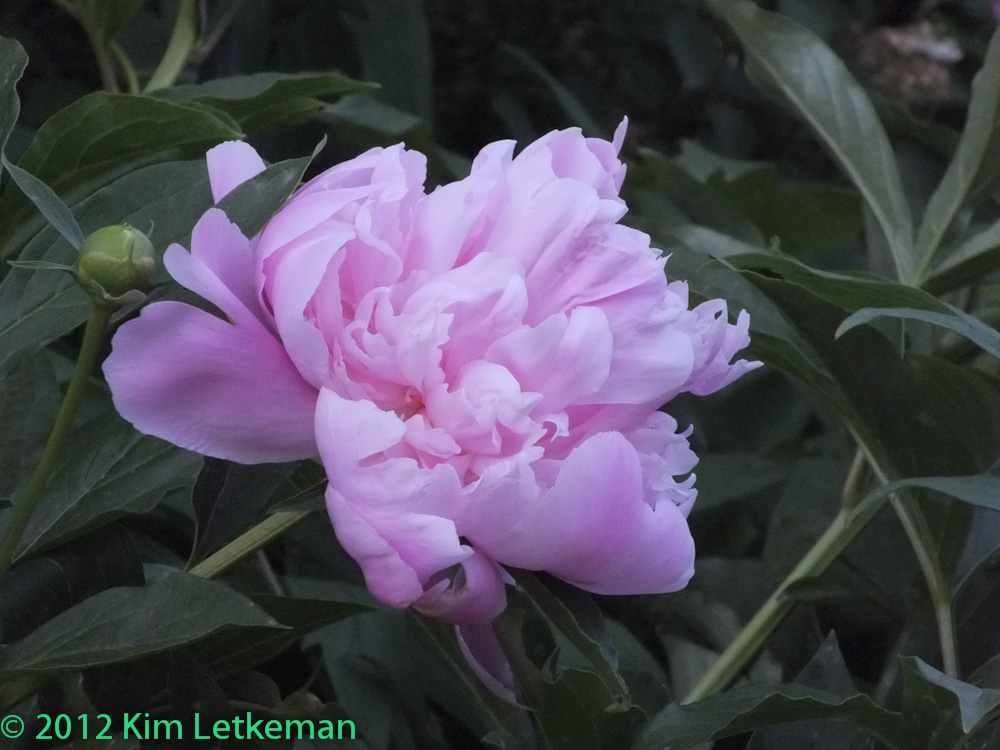
And finally, I notice the ISO is too low., The Peonies are gorgeous and I really want this shot. The two before this one were horrid. This one is still blurred, despite being shot at 1600 ISO.


Because it is dark, the speed still only came out to 1/70. So still pretty slow for full zoom.

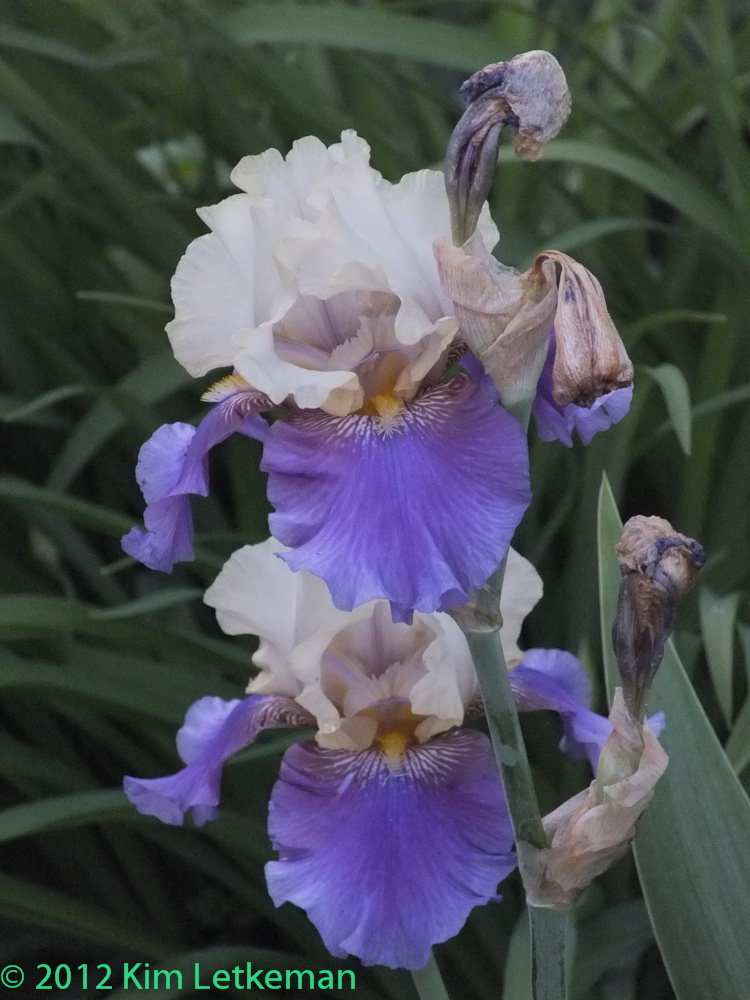
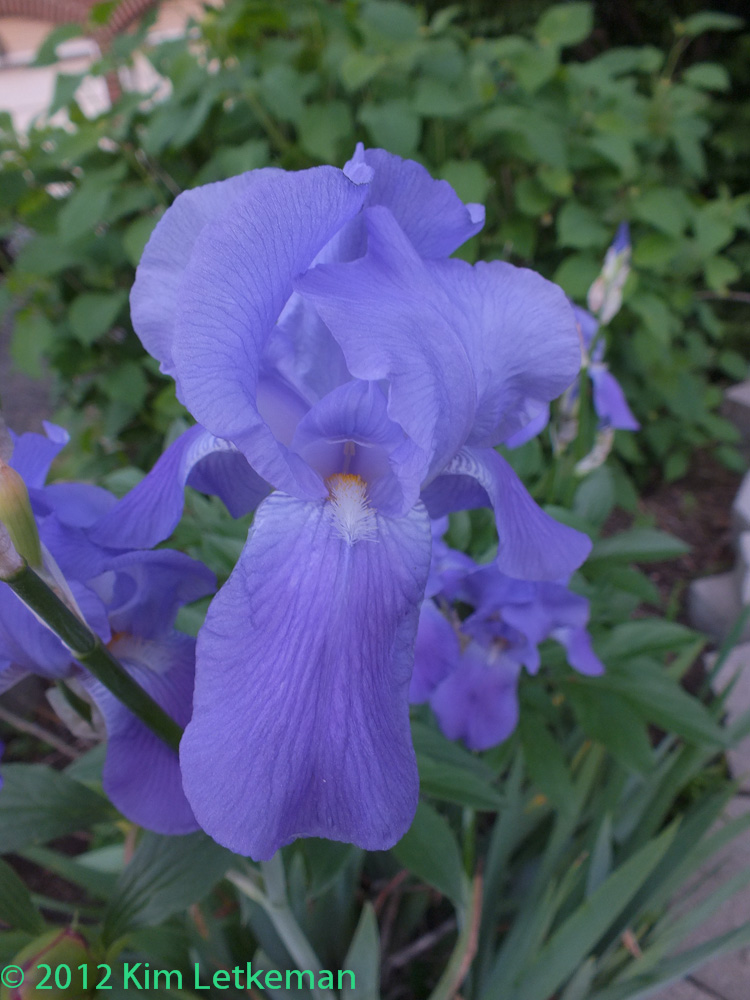
But here I get a very crisp image of these Irises. The shutter is fast enough at 1/220.

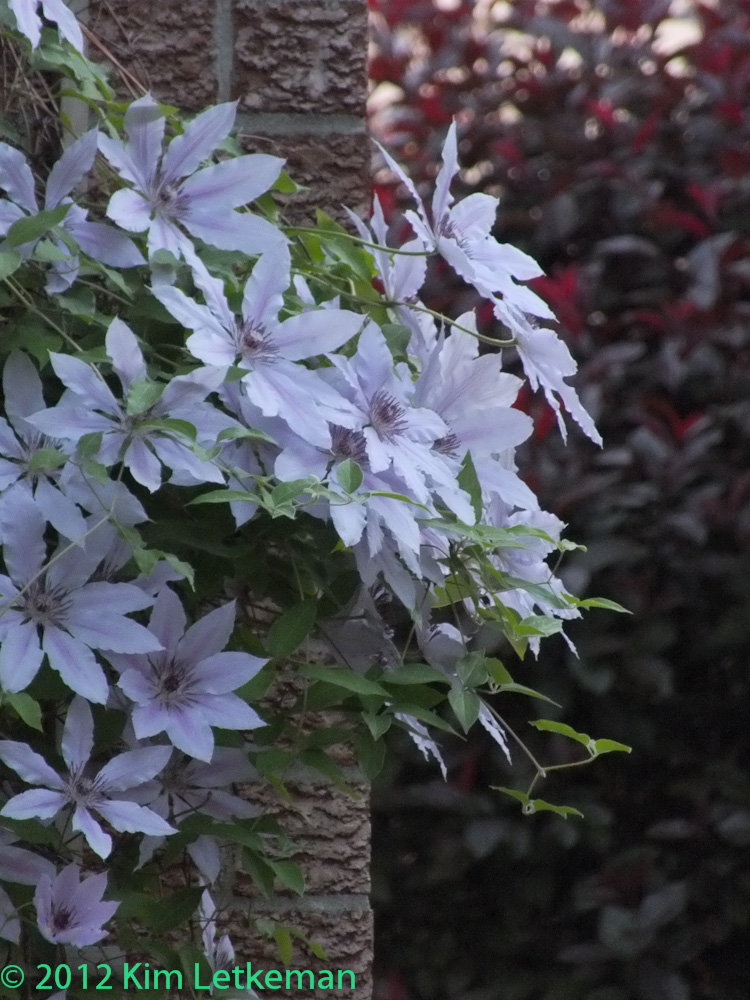
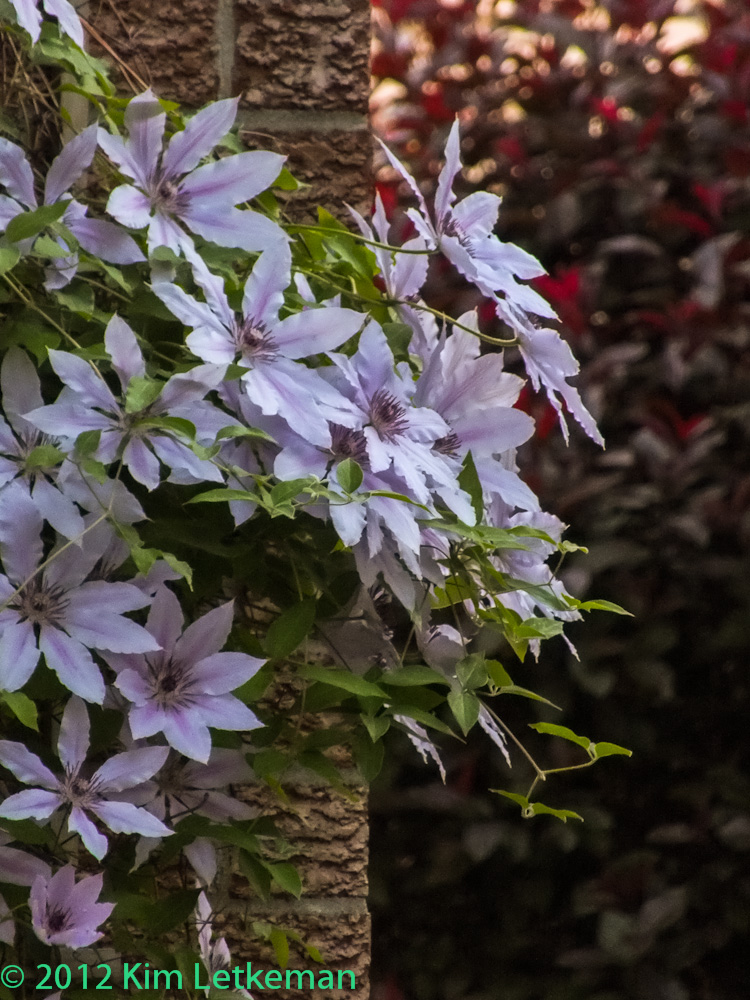
These Clematis look great. But I don’t like the cool tint, so I process them myself again.

Now this one had no excuse to be blurred at 1/250s … but statistically it is still going to happen. I should have shot it 3 times to be certain.

And yes, that one was processed. This is what Fuji did …

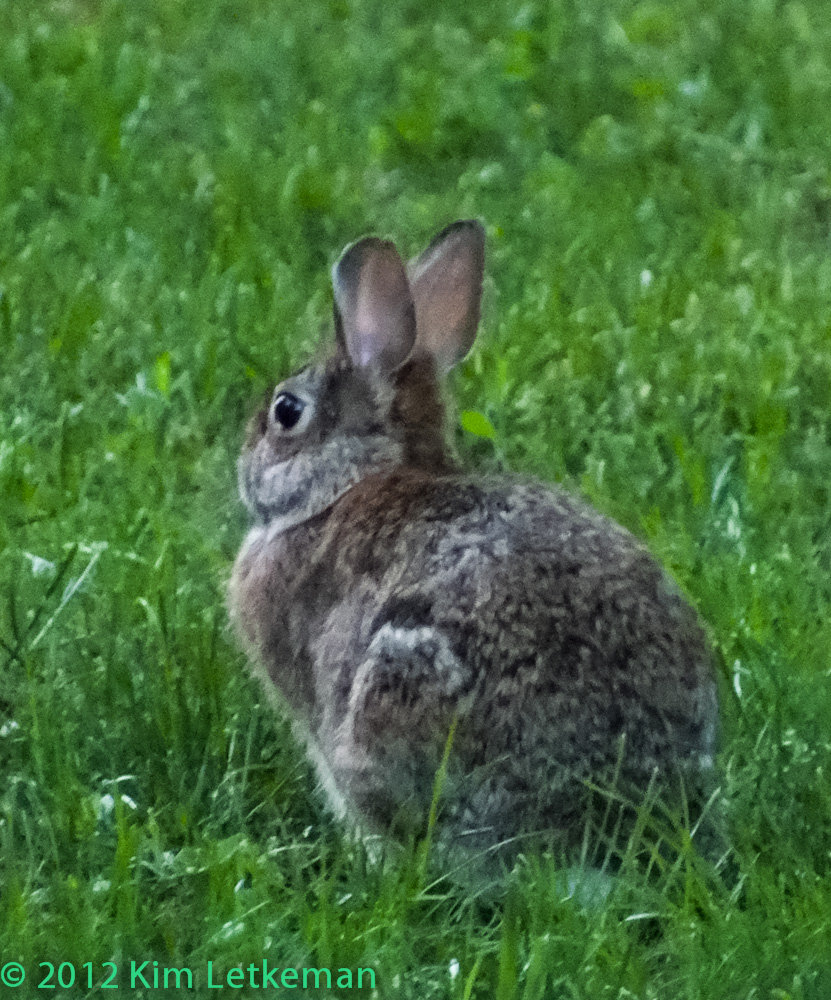
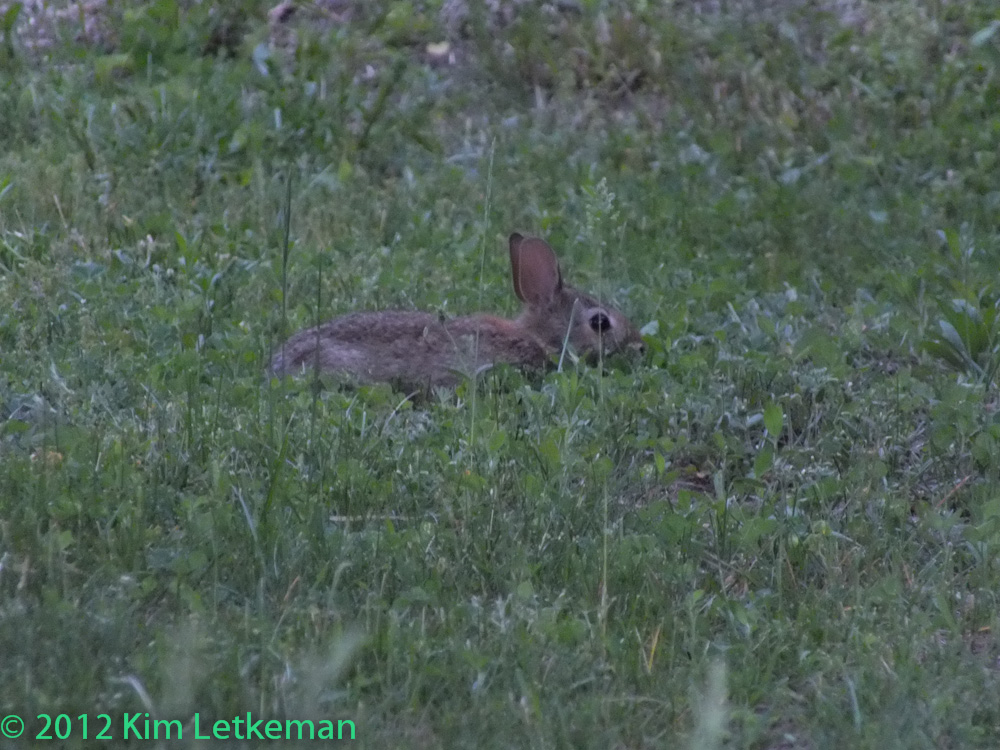
A cropped shot of a rabbit at full zoom and 1/70s. Not very sharp, not very clean, but hey … it’s a wascally wabbit.

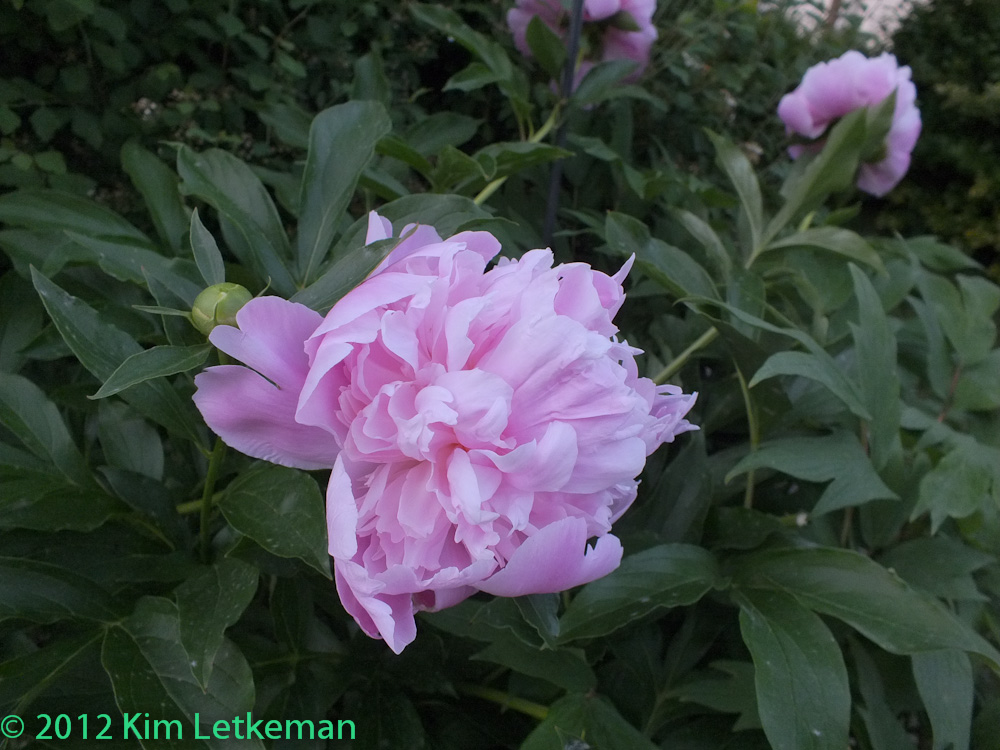
I went to wide angle and got a nice shot of a Peony down the road from the rabbit. At wide angle, you really have to watch your backgrounds. This worked well.

Then I back off a bit and shoot with more zoom and macro mode set. There is much less to worry about in the background with this narrow angle of view.

And once more … a wide shot of an Iris, then a tele shot in macro mode.

Again, the background makes a huge difference.

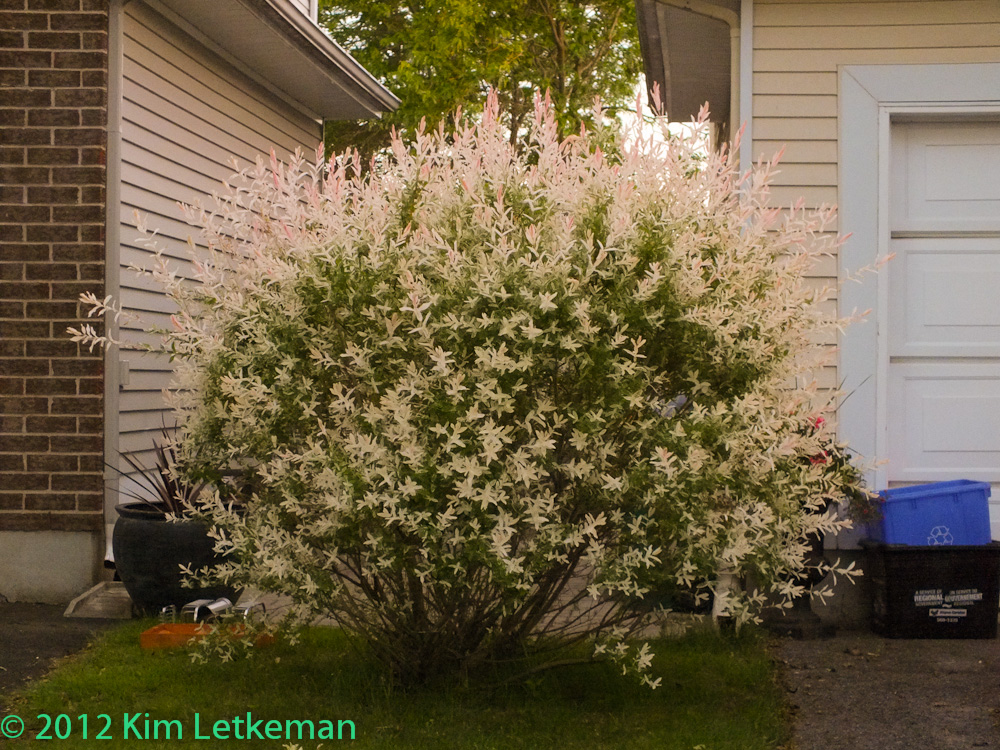
A while later, I notice this way cool flowering bush between two houses. I think I want one of these. Anyone know what it is? By the way, this one is processed.

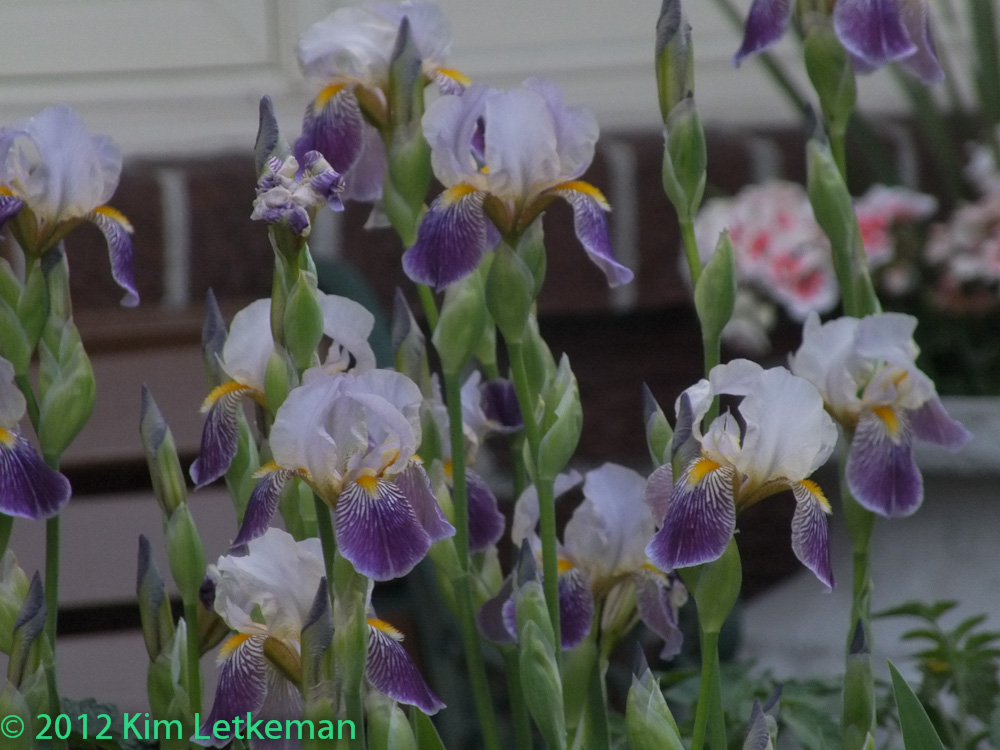
Iris is a popular flower around these parts.

Second bunny in 10 minutes. Cool.

I had to reset white balance to show how pretty these Iris were. Wow …

1/90 was just to slow for the closeup. Again … had I shot it three times … maybe.

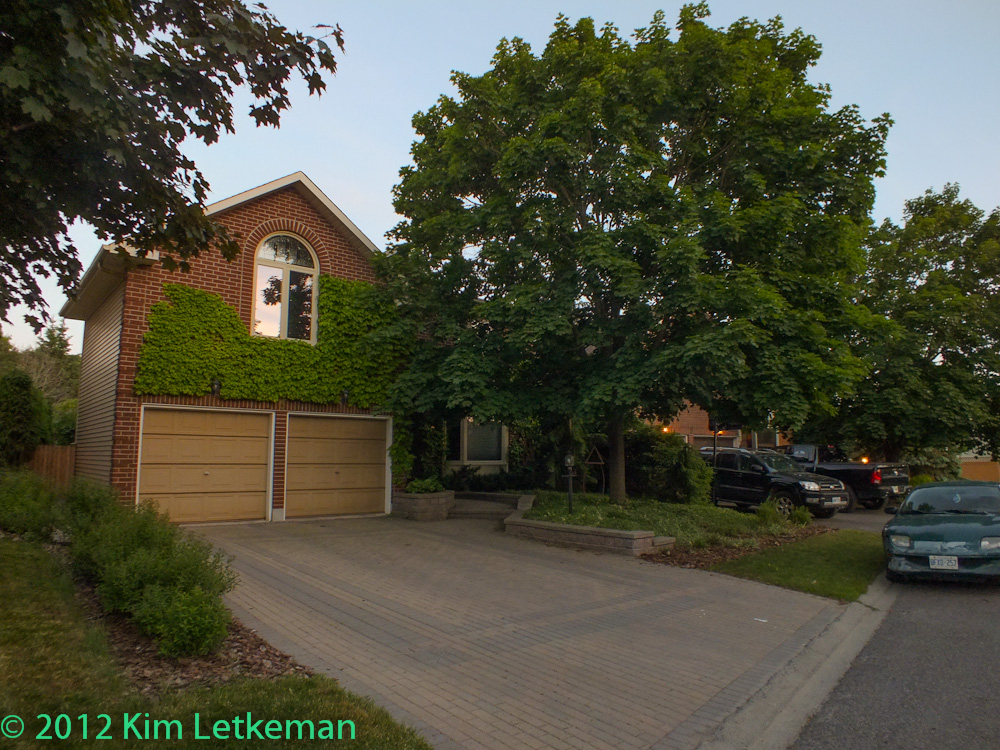
Last image … just before I turned the corner for home. This house is just gorgeous … the huge Maple in the front yard with the Ivy on the brick and the lovely stone driveway. Very nice …


conclusion

So is it fun to carry the HS25 in fading light? Well, mostly. I enjoyed carrying it. It is light and unobtrusive. But it has hesitations on the AF and the LCD / EVF freezes while that is going on. The EVF and LCD do not really show you what you are getting, although the LCD is far better than the EVF, which is a bit of a joke as a viewing device.

But I still find myself framing with the EVF because long zoom needs stability and the third point of pressure on the camera (eye socket) makes a lot of difference.

The noise and grain is ok, but not spectacular. At these sizes, full shots look fine at 1600ISO. But cropping is not going to make you happy.

One of these days I need to bring the D7000 out in this light. I expect a slaughter.

Read More..

TED Movie Review

Jumat, 17 Januari 2014

0 komentar

TED Movie Review:
TED movie is the best comedy and cutest movie I ever watch this year! Seth Macfarlane, the director, producer, writer and actor (voice of TED) of this movie has made a great debut on the TED bear. The story content was very freshly and entertaining and it has its unique way of introducing the movie from the beginning.

However, TED movie contain coarse language, sexual joke and scenes which make up the comedy storyline in this movie. Therefore, in Singapore this movie is rated as M18.

The main story of this movie want to deliver to the audience is that; “Relation change human life, therefore Treasure your precious before you lost them. “ I was amaze by its story and I did enjoy laughing throughout the whole movie session. Hence, this TED movie is recommended to watch! I rate TED movie 3.5/5 star.


TED Movie Synopsis:
Family Guy creator Seth MacFarlane brings his boundary-pushing brand of humor to the big screen for the first time as writer, director and voice star of Ted. In the live action/CG-animated comedy, he tells the story of John Bennett (Mark Wahlberg), a grown man who must deal with the cherished teddy bear who came to life as the result of a childhood wish...and has refused to leave his side ever since.


Read More..

Olympus OM D E M5 Video Review Behind the Scenes

Rabu, 15 Januari 2014

0 komentar
Finally, we have come to the end of the Olympus OM-D E-M5 review episodes spanning about two weeks. This time, we shall divert the attention to a dear friend of mine, Sanjit from FULLCIRCLEPIX who has been with me throughout all my shooting session for the review of E-M5.

I first encountered Sanjit in the year 2008, during one of the first few Olympus User Gathering held by Olympus Malaysia. I remembered vividly attending the first talk that was conducted by Sanjit on Wildlife Photography at Kuala Lumpur Photography Festival, and admiring his photography work as well as his passion to shoot and share his knowledge with the audience. He is one photographer that I have come to respect and look highly onto over the years, and being an Olympus E-System user, there was a lot I can relate to. It came as a surprise and pleasure when I was given the opportunity to work alongside someone as great as Sanjit for the recent Olympus OM-D E-M5 review.

BEHIND THE SCENES OF OM-D REVIEW


Video by FULLCIRCLEPIX


As you all know it, I am not a videographer, and I have almost zero skills and knowledge when it comes to video shooting. Sanjit on the other hand is very experienced in video shooting, and has very good sense of art direction. Therefore, it was only natural that I concentrate fully on the photography side of the Olympus E-M5 review, while Sanjit would tackle the video capabilities. His ultimate challenge was to shoot everything hand-held, without any aids such as dolly, tripod or steadycams. It was also his task to explore how feasible E-M5 is as a video shooting camera.

Sanjit has been a great partner to work with, I enjoyed every single moment and adventures with him. I admire his dedication, passion and willingness to work till ungodly hours just to finish up all the videos I have been showing in my blog reviews so far. Believe me the amount of effort and energy sacrificed for the videos was beyond my imagination, yet I never heard a word of complain from Sanjit, and he kept everything on schedule with no delay. My only wish is that we have had more time, so that everything was not so rushed and hectic. Nonetheless, I believe Sanjit did a splendid job in illustrating how well the Olympus E-M5 handles video recording, and I cannot have asked for any better. 
I shall place the spotlight to Sanjit. Head over to his blog where he has written his part of E-M5 review for video shooting, and his write-up on behind the scenes of our review work:

Go to:

Please kindly direct your questions and comments to Sanjits blog !! I will surely not be able to answer any questions related to video.

To Sanjit, it was an honor and privillege to shoot alongside you. Cheers mate !!

Special thanks to Olympus Malaysia for loaning us the OM-D. 
Read More..

Olympus Stylus XZ 2 Review Nick Davis Live

0 komentar
Important Notes:
1. This is a user experience based review.
2. All images were shot in RAW and converted directly to JPEG (High Quality) via Olympus Viewer 2 
3. General camera settings, Noise Filter = LOW, Contrast/Saturation/sharpness = 0, White Balance = Auto (with an option maintain warm color = OFF), Gradation = Normal
4. Minimal post-processing applied to the images. All images were as good as straight out of camera, with minimal cropping and only minor exposure/contrast correction for better presentation.

This entry is Part 2 of my Olympus Stylus XZ-2 review series. If you have not read Part 1 review and my preview of the Olympus XZ-2, please do so. 

In my previous Part 1, I have brought the XZ-2 out to my usual street shooting session, and found the camera to perform exceedingly well under favorable lighting conditions, delivering amazingly sharp and detailed images at low ISO sensitivities. The amazing resolution captured was due to the high quality Olympus i.Zuiko lens, and also the Trupic 6 image processing engine, producing Olympus signature color and look in the images. 

We all know that ALL cameras perform at their best at lowest ISO settings. So how does the new Olympus Stylus XZ-2 perform when shooting at higher ISO settings? That is the only thing I want to explore in this Part 2 of my review. 

As a reminder, this review will be written from a photography-enthusiast’s point of view, because I am not a professional photographer. This will be a user experience based review, sharing on what I think and feel as I use the XZ-2 in real life shooting situations. Therefore, this is not a technical review as there will not be elaborative technical explanations, which can be easily accessible on many professional review websites such as DPreview and DXOmark. In addition to that, I will not be doing direct side by side image and performance comparisons between XZ-2 and any other cameras. Instead, I will share my opinion on how different the experience was shooting with the new XZ-2. In a nutshell, it is about what I can do with the camera, not what the camera can do by itself.

ISO3200
ISO3200, F/1.8, 1/50sec, Equivalent focal length: 28mm


To test the low light shooting capability of the Olympus XZ-2, I have decided to shoot a local live performance, Nick Davis happening at LUST Bar in Bukit Bintang, Kuala Lumpur, just earlier this evening. We know well how horrendous the lighting condition is inside a bar, and the setup for this evenings band live performance was surely no exception. It was very dark, with strong color cast lighting that changed every single second. Lighting was very uneven throughout the stage, and the intensity and color changed rapidly, throughout the whole show. It was a situation that would pose a challenge for even high-grade professional cameras, and if I were to use the OM-D or E-PL5, I would be struggling to get good shots too. 

To illustrate the "changing lights every second", and uneven intensity, varying lighting throughout the stage situation, please play the Youtube video below:


Please take note that I took the above video with the Olympus XZ-2 with the intention to show the lighting condition of the stage only. The above video should not be used for video quality review purposes, because all I did was simply press the record button and did nothing else. For video review of the XZ-2, please wait for other reviewers for their commentaries. I am not a videographer, I have no knowledge or background on shooting good videos, hence I shall refuse to comment on the video recording. I appreciate your understanding. 


Now that you have seen how horrible the lighting condition was, how did the Olympus XZ-2 perform? Well, I shall let the images do the talking first. 

Lets have a drink before we start, shall we?


ISO1600
Show Opener
ISO1600, F/1.8, 1/8sec, Equivalent focal length: 28mm, 
IMAGE SAMPLE 1

ISO1600 100% crop from IMAGE SAMPLE 1


 ISO3200
ISO3200, F/2.5, 1/80sec, equivalent focal length: 112mm
IMAGE SAMPLE 2

ISO3200 100% crop from IMAGE SAMPLE 2

ISO6400
ISO6400, F/2.5, 1/40sec, equivalent focal length: 112mm
IMAGE SAMPLE 3

ISO6400 100% crop from IMAGE SAMPLE 3

ISO3200 
ISO3200, F/2.5, 1/60sec, equivalent focal length: 112mm

 ISO3200
ISO3200, F/1.9, 1/50sec, equivalent focal length: 30mm


Considering the use of smaller sized sensor in digital compact cameras typically, image output at higher ISO settings would be inferior in comparison to larger sensor camera systems, such as micro 4/3 mirrorless system, or any DSLR systems out there. It is therefore, unreasonable to expect image quality from a mere, humble compact camera to come close or be compared to those larger sized sensor format cameras. It is crucial for us to establish this understanding, as how we gauge the performance of this Olympus XZ-2 camera in terms of high ISO shooting must be relative to its own category of camera, and should not be mis-matched to unfair comparisons/competitions. 

The Noise Filter I used for all images in this entry is set to "LOW". I provided full size images for download at the end of this blog entry, with samples including "Noise filter OFF" copies. The following is a list of my observations, based on this short, but extremely challenging shooting:

1) Absence of Chroma Noise
Looking at the images taken from ISO1600, 3200 to 6400, I can barely notice any chroma noise. The default JPEG engine of the camera, Trupic 6, which is also the same image processing engine for the latest micro 4/3 cameras (E-PL5 and OM-D) somehow magically suppressed almost all chroma noise, with JPEG images straight out of the camera having almost no trace of chroma noise at all. Yes, it is evident that noise reduction (Olympus calls it Noise Filter) has been applied to a certain extent, but the fact that you get images clean of chroma noise is an advantage not to be overlooked. 

2) Luminance Noise
There was almost no visible Chroma Noise, but luminance noise was present, even at lower ISO settings (ISO400 onward). The luminance noise was not intrusive, and can be reduced by applying noise filter, or being cleaned up in post-processing. The luminance noise was present, alongside very important details, which was not lost or being smudged away. 

3) Very Good Amount of Detail Maintained
In fact, even at higher ISO settings at 3200 and 6400, the detail level captured was a lot less, and images appear "softer", but not the usual heavy smudging or smearing due to heavy noise reduction found typically in other compact cameras, even at lower ISO settings. The images appear "fuzzy", rather than having painting or the water-color look. If the original image taken by the camera was properly exposed, and the image was shot in RAW, I believe that further post-processing can accomplish very usable high ISO results, with good enough amount of details in the images.

4) Noise Grain Pattern like OM-D
When I was reviewing the OM-D earlier this year, some of my readers commented on the grain pattern that did not quite match the usual Olympus older sensors noise pattern, and looked like "irregularly placed lines" rather than dots. You can observe the pattern from the "noise filter OFF" images from the download section. The pattern was reduced in the shots shown in this entry due to the noise filter being set to "LOW". I am no scientist, hence I do not have the absolute answer or explanation to the grain pattern being similar to the OM-Ds. I have two guesses: either the noise grain was the result of the use of same image processing engine Trupic 6, or the use of Sonys image sensor that exhibits the same noise pattern and characteristics. I would want to put my money on the later, but again, this is purely my own speculation with no conclusive evidence. We know how well Sony makes the newer sensors these days, that could be an easy explanation for the impressive high ISO image quality from the XZ-2 !! After all, Sony did pioneer the Back-Side Illuminated image sensor technology, right?

5) Very Good ISO1600, Usable ISO3200
I shall be very careful in making such claims, and bear in mind tolerance to high ISO noise is a very subjective thing that varies greatly. What I am saying here only reflects my own opinion, and I have provided 100% crops, as well as full resolution samples for your own further review. I dare say with the Olympus XZ-2, shooting at ISO1600 is not an issue, it still maintains very good amount of details, with relatively low amount of noise. However, at ISO3200 you must watch your exposure (do not under or over expose), and recommended shooting in RAW for further processing to reduce noise, if necessary. As shown in this entry, even applying Olympus default Noise Filter to "LOW" has reduced the noise greatly and the images appeared more "pleasing". Lets just say, if you are really serious about shooting high ISO and expect better sharpness, less noise output, you should be getting a more powerful camera system, surely not a compact camera !! If you are looking for a serious high-end compact camera, I strongly believe Olympus XZ-2 is no slouch in the high ISO department.

ISO800
ISO800, F/2, 1/60sec, equivalent focal length: 44mm

ISO1250 
ISO1250, F/1.8, 1/320sec, equivalent focal length: 28mm

The following image is taken with comparison between ISO 1600, 3200 and 6400 in mind. The first image was taken at ISO1600, but the subsequent crops were from respective higher ISO settings. Full resolution images available for download, at the end of this entry. 

ISO1600, F/1.8, 1/40sec, equvalent focal length: 28mm


ISO1600 

ISO3200 

ISO6400 


14 full resolution sample imagescan be downloaded via the following link, for your pixel-peeping pleasure. High ISO samples with both Noise Filter settings set to "OFF" and "LOW" are available. 


Id say the Olympus XZ-2 is looking really good so far. Yes, I do have my issues with the camera, and my fair share of complains, which I shall be covering in my coming entries. But so far, having great Olympus Zuiko lens with bright aperture of F1.8-2.5, in combination with very capable high ISO shooting (I dare not say it has been improved, or how much better than XZ-1, but the improvement is obvious, no?), this Olympis XZ-2 should not be underestimated. 
More Parts of XZ-2 reviews to come !!

If you have any questions or feedback, please feel free to say something in the comment section on this blog entry, or email me directly at hamish7ian@gmail.com

Read More..

Copyright © 2010-2022 Kabar Blog | Powered By Blogger